2010 BACKYARD RENOVATION


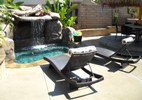
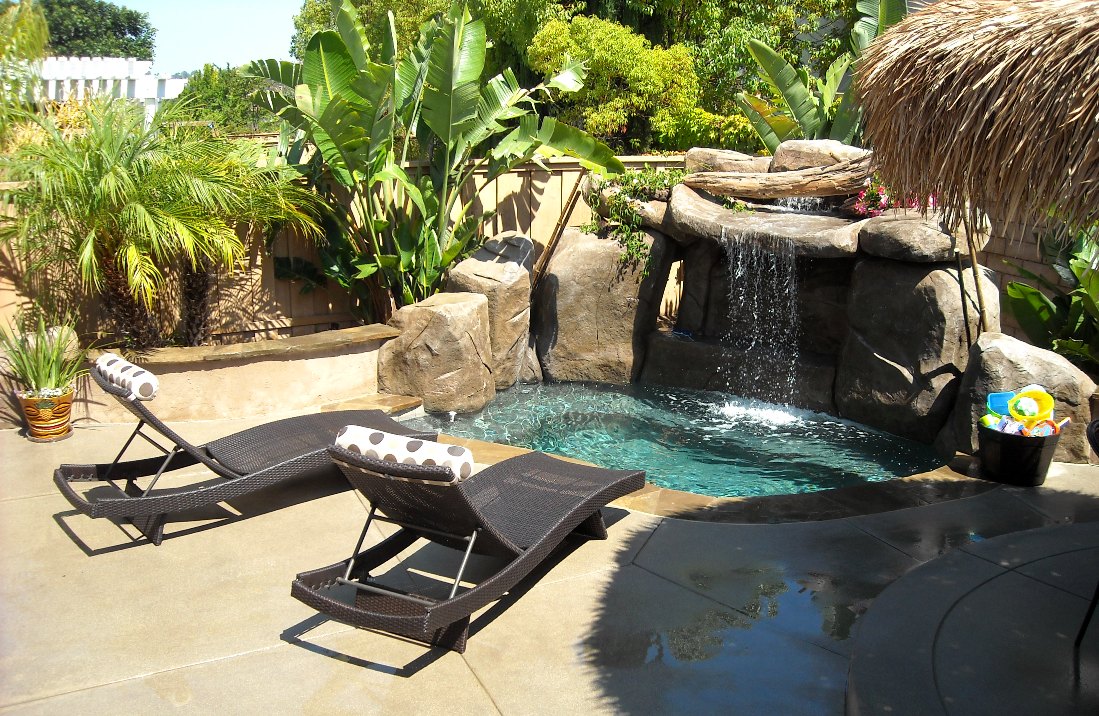
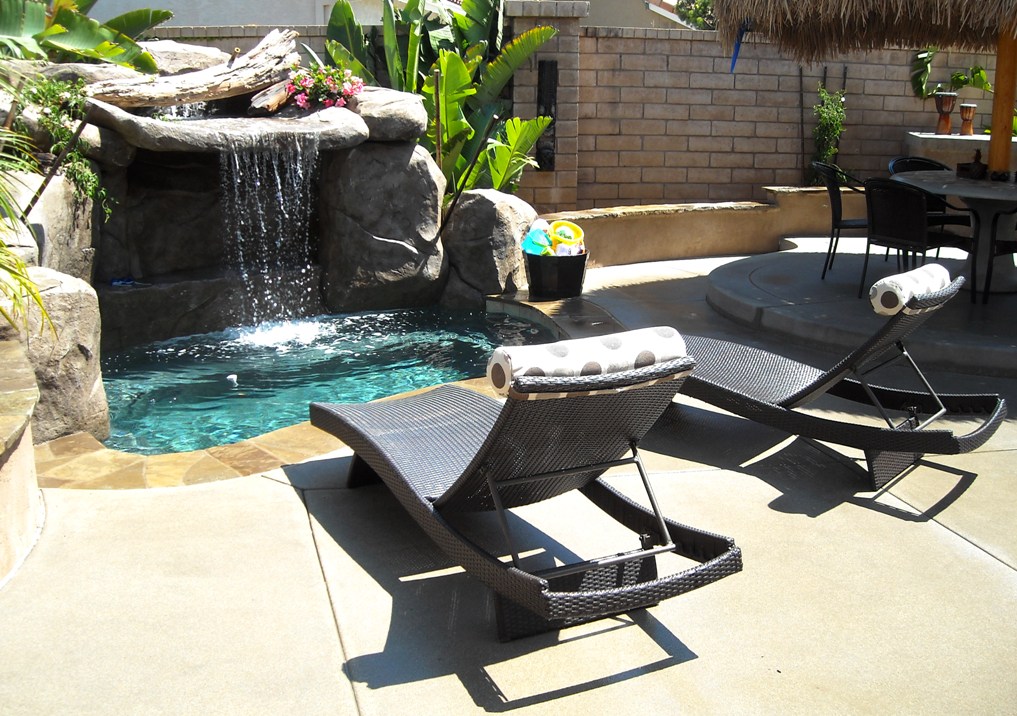
 The spa lounge chairs were delivered in mid-July which completed the backyard renovation!

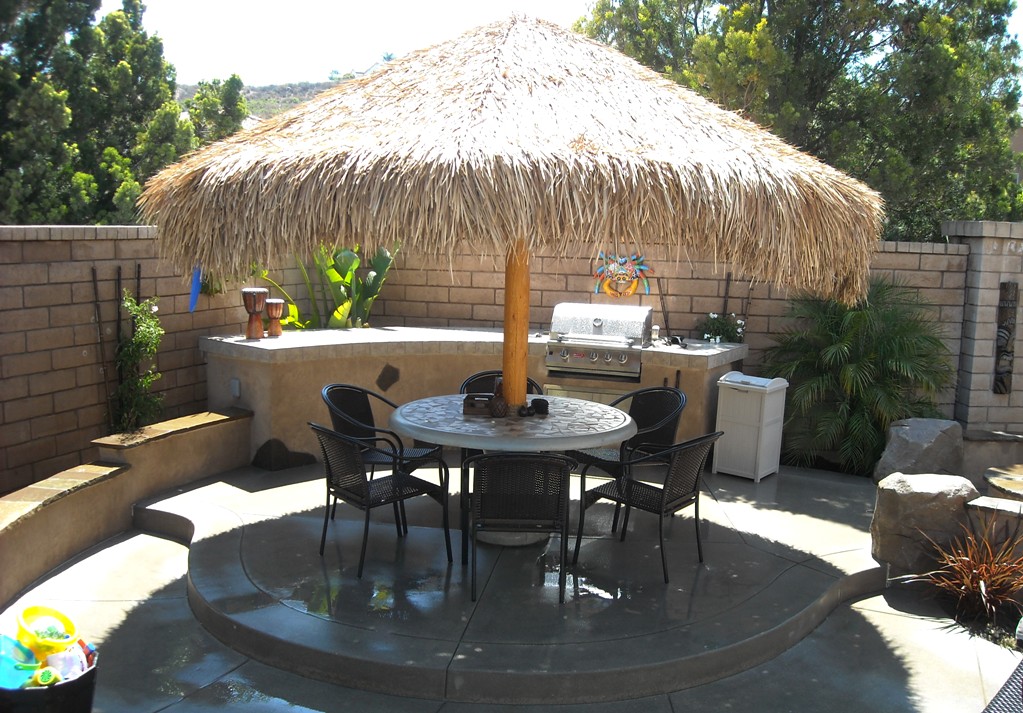
 Everything was finished in-time for Tessa's 3rd Birthday Party on June 6th! The total process took just over
three months to complete. We are thrilled with the results, our paradise oasis in San Diego has turned out better than we imagined. A huge "thank you!"
to the many suppliers that made this possible:
Sundancer Pools' Jay coordinated all the work, was patient with our custom requests, and was dedicated to making us happy clients.
Superior Landscaping did a fantastic job on the lush tropical plants & irrigation.
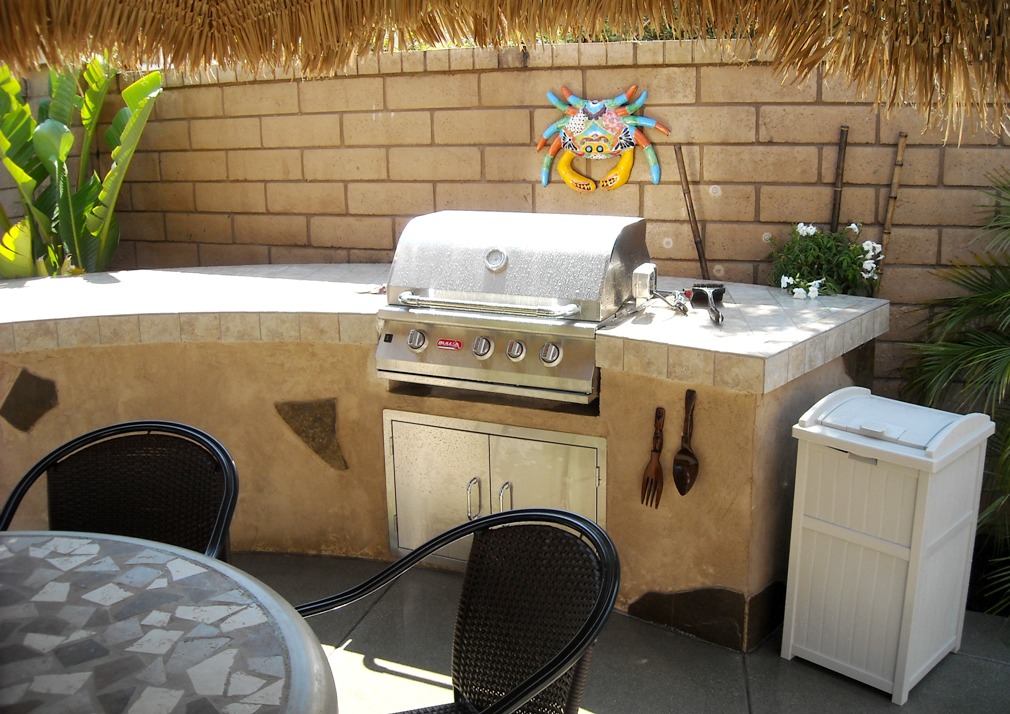
Backyard X-Scapes supplied the stainless BBQ, black bamboo fence, & custom concrete table.
And Miguel did all the odd-jobs that we needed to make things perfect.
Everything was finished in-time for Tessa's 3rd Birthday Party on June 6th! The total process took just over
three months to complete. We are thrilled with the results, our paradise oasis in San Diego has turned out better than we imagined. A huge "thank you!"
to the many suppliers that made this possible:
Sundancer Pools' Jay coordinated all the work, was patient with our custom requests, and was dedicated to making us happy clients.
Superior Landscaping did a fantastic job on the lush tropical plants & irrigation.
Backyard X-Scapes supplied the stainless BBQ, black bamboo fence, & custom concrete table.
And Miguel did all the odd-jobs that we needed to make things perfect.

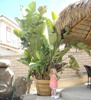
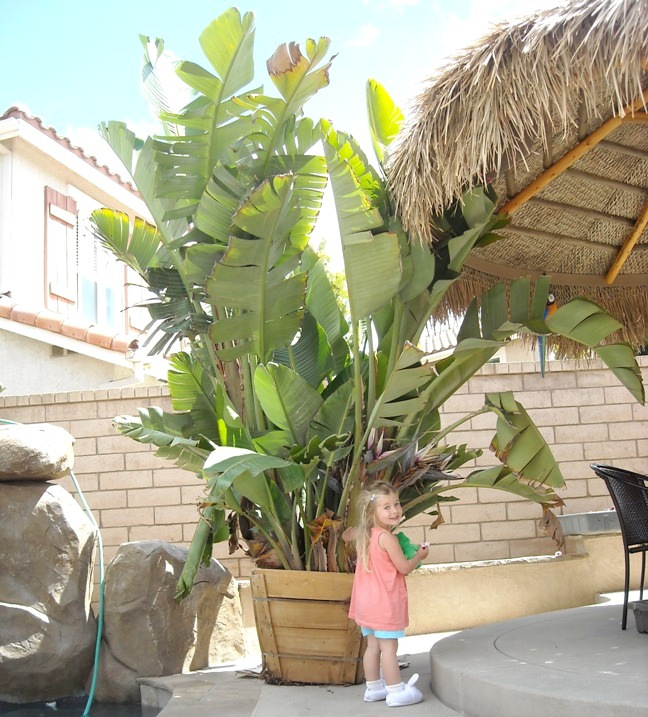
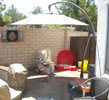
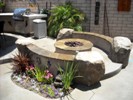
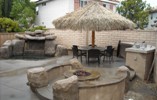
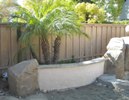
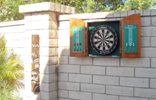 The landscaper installed the four Giant Birds of Paradise, a Pygmy Date Palm, & several tropical plants. What a huge
difference with the dense foilage! Lee & the kids even went down to North Torrey Pines Beach and found several pieces of driftwood which really give
the waterfall a more realistic look. And the dart board finally got installed. We're almost there ...
The landscaper installed the four Giant Birds of Paradise, a Pygmy Date Palm, & several tropical plants. What a huge
difference with the dense foilage! Lee & the kids even went down to North Torrey Pines Beach and found several pieces of driftwood which really give
the waterfall a more realistic look. And the dart board finally got installed. We're almost there ...
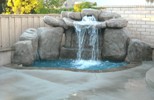
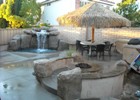
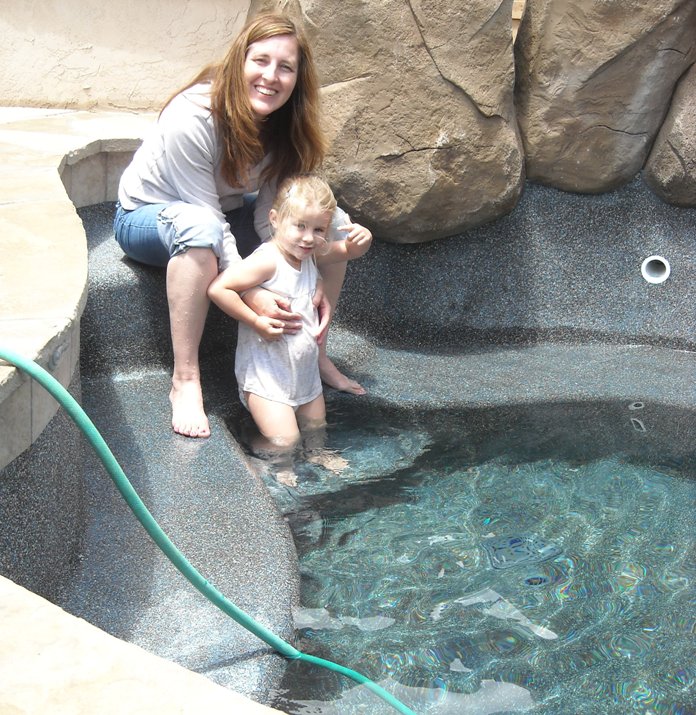
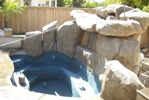
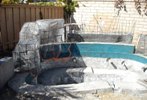
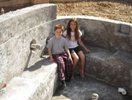
 They connected the spa/waterfall electrics, set the water flow & heat, so now it's ready to enjoy!


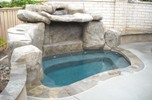

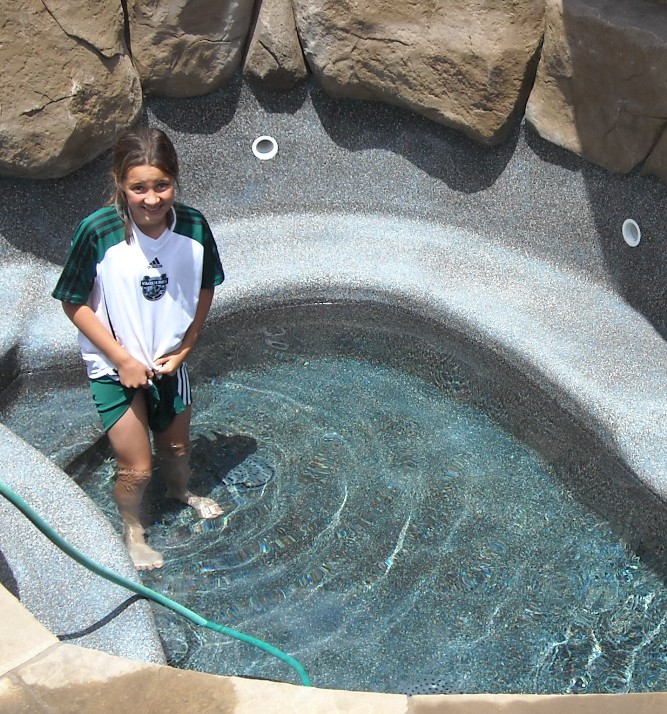
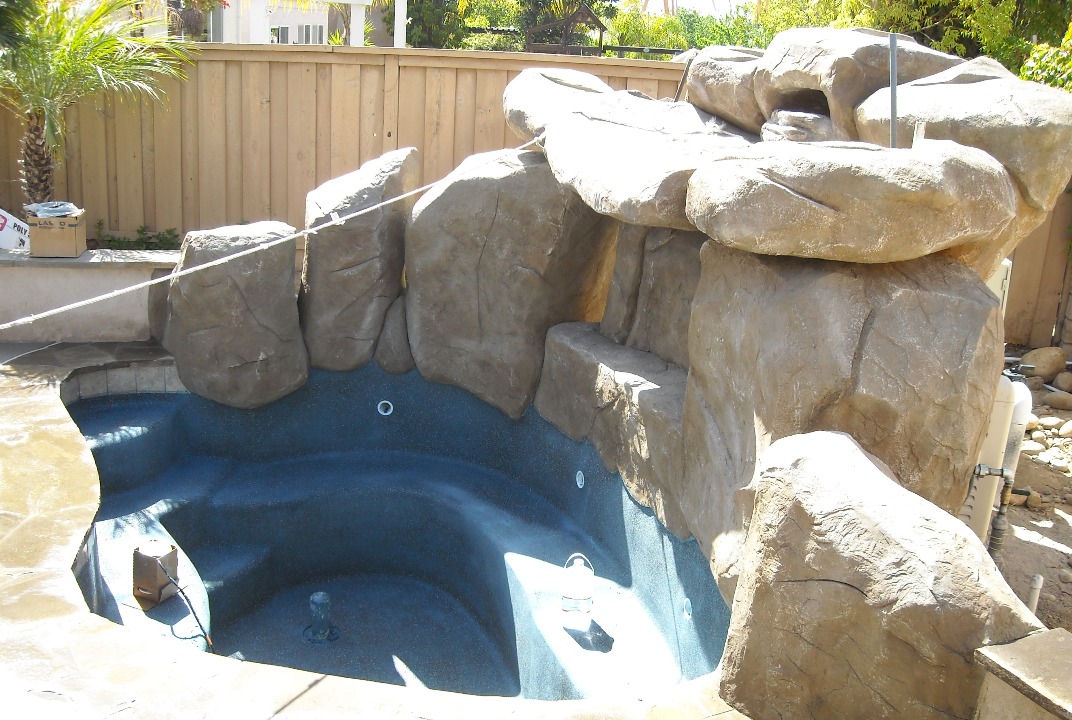
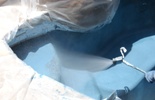
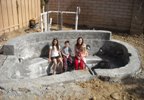
 Today they applied the acid washing to make the spa pebbles more visible & filled it with water!

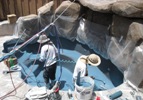

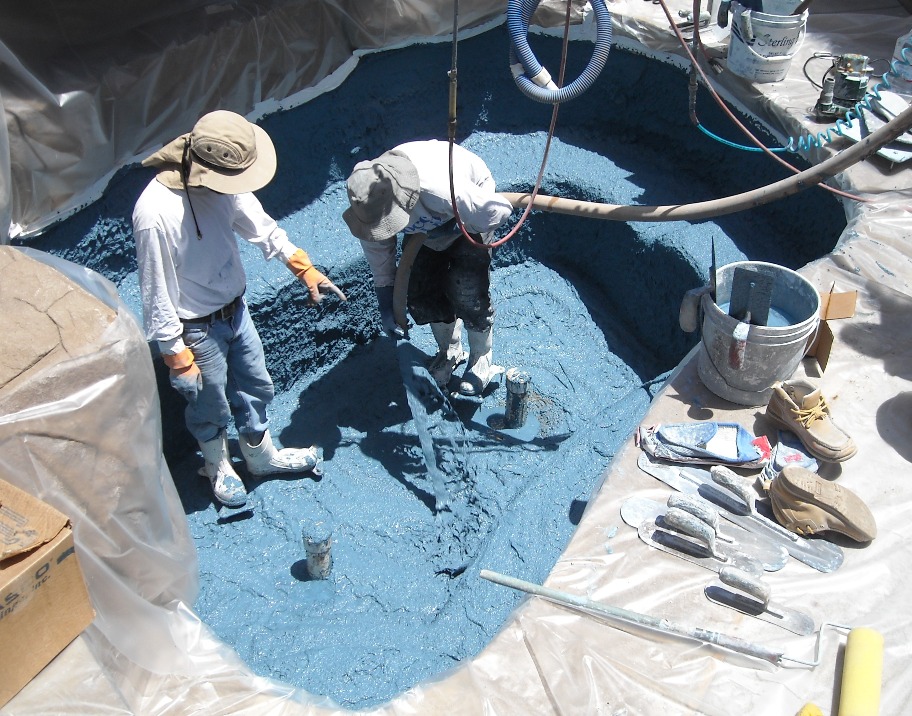
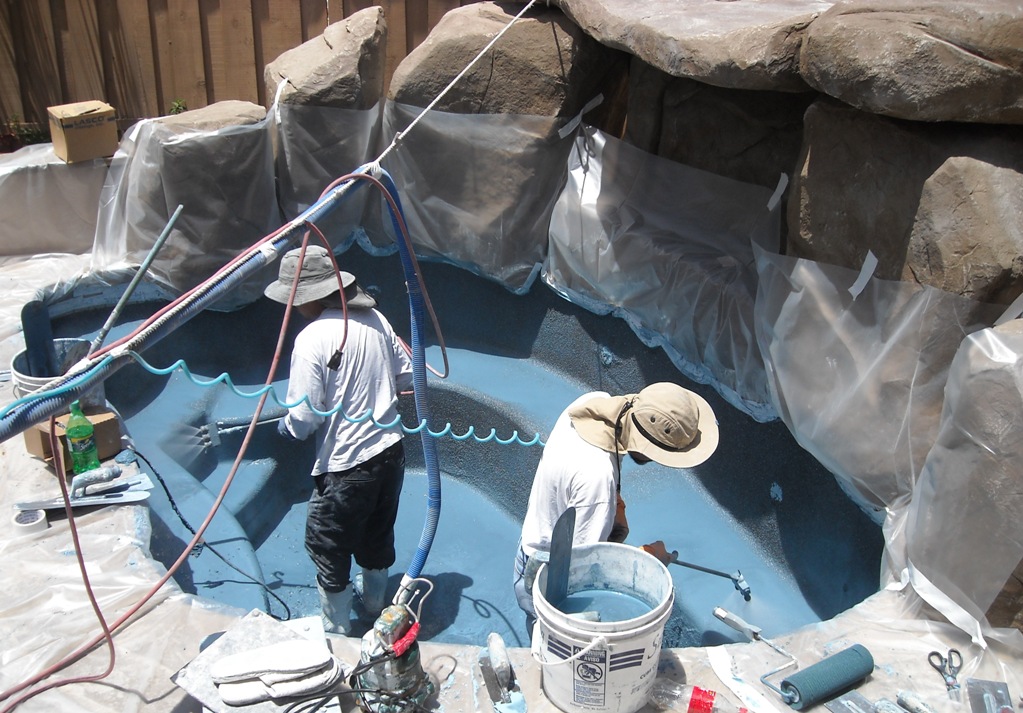
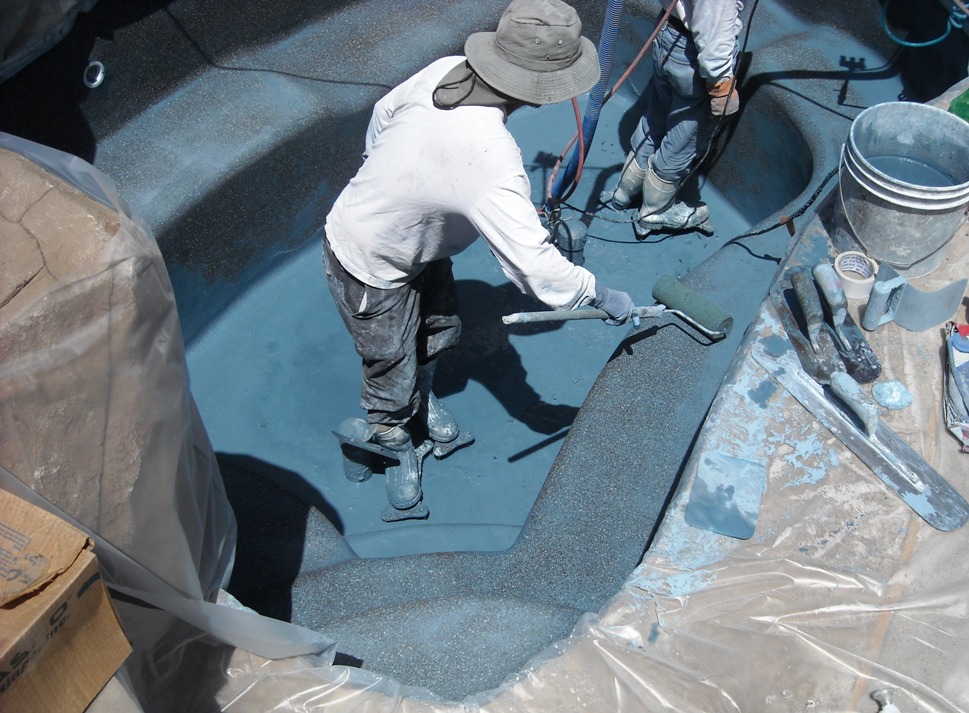
 Today they applied the spa plaster, a dark blue pebble-grain called Stonescapes Midnight Blue.

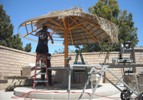
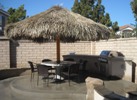

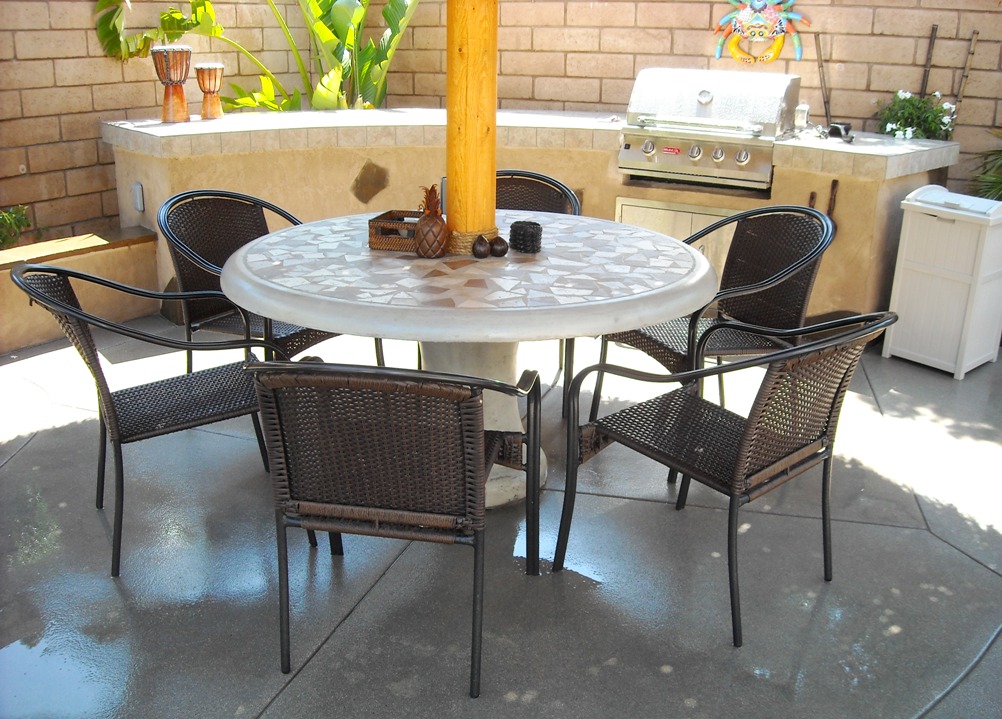
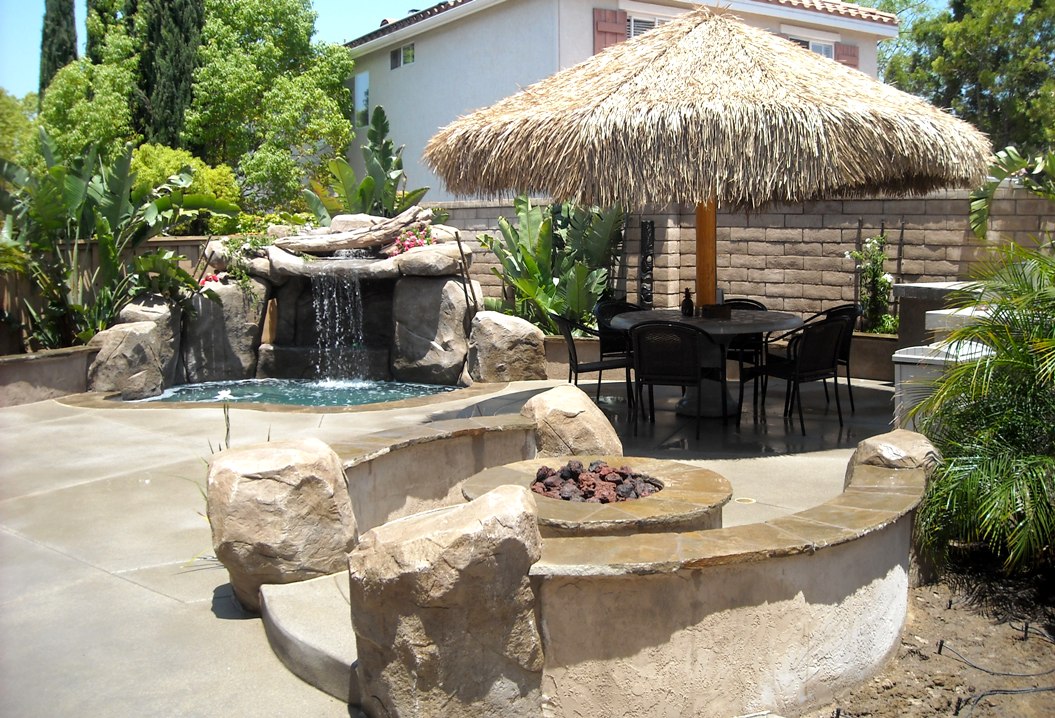
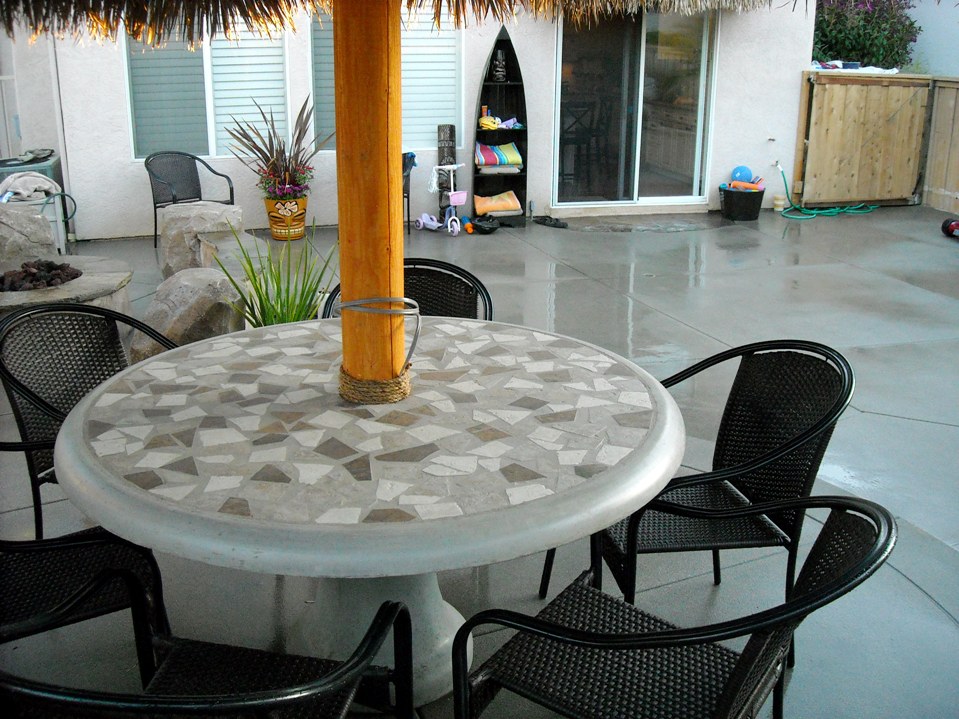
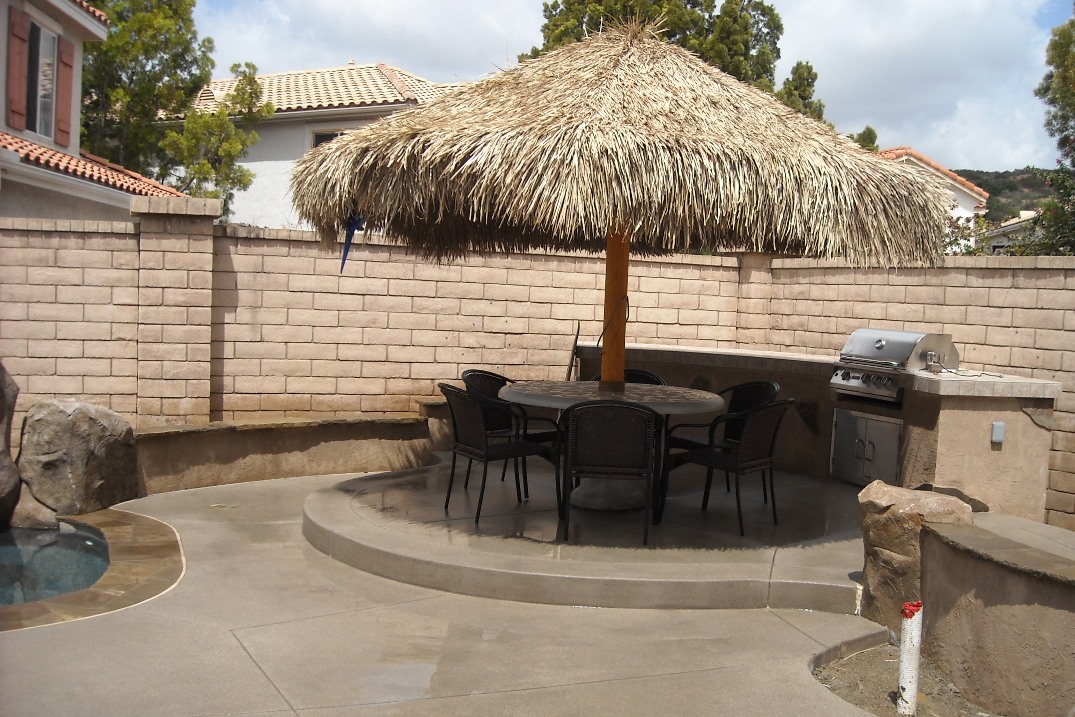
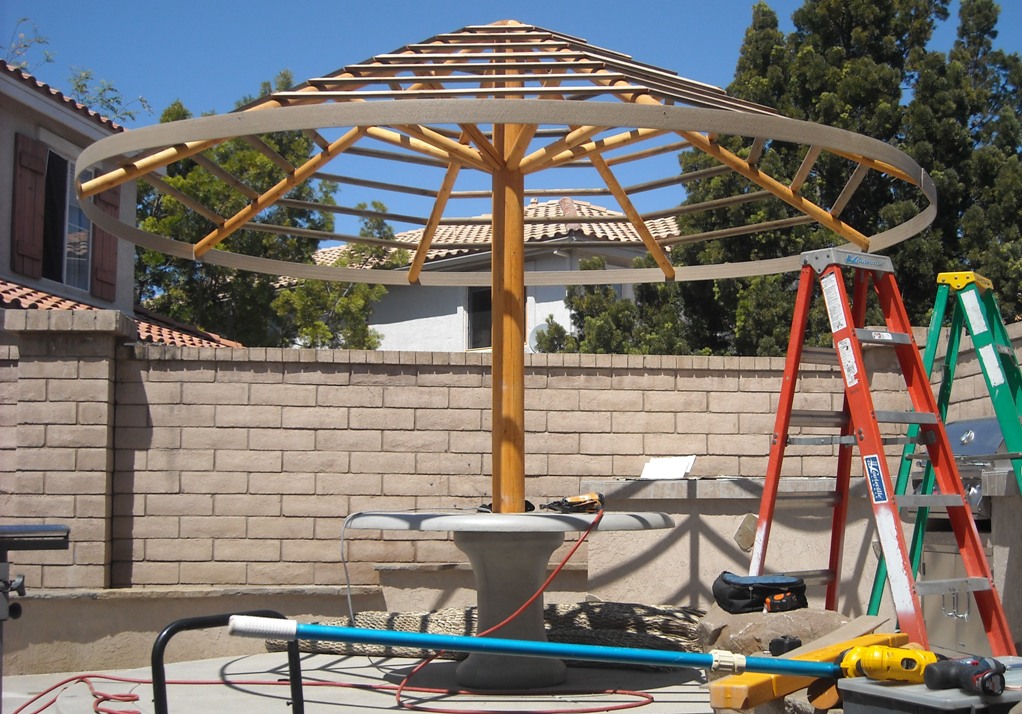
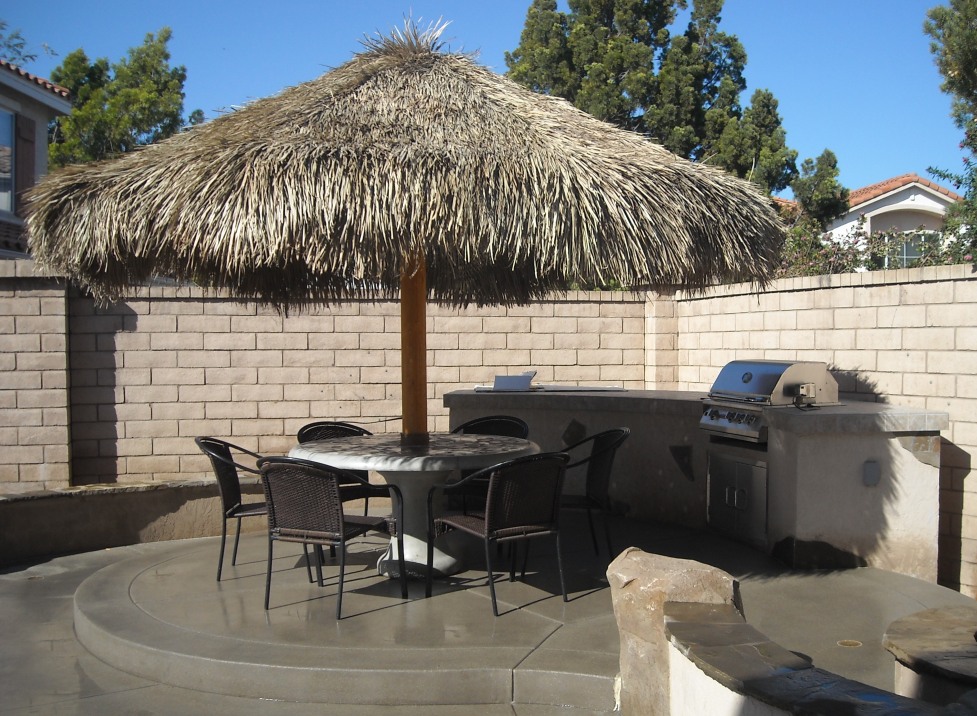
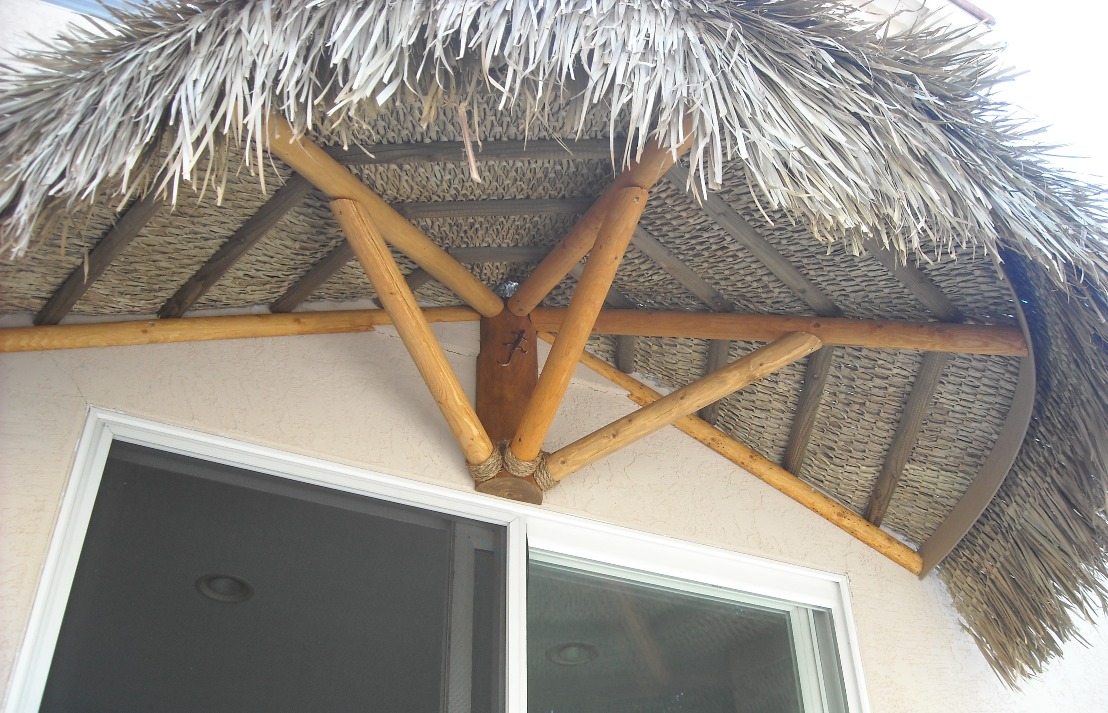
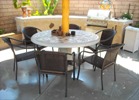
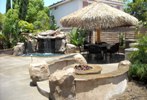
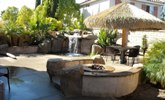
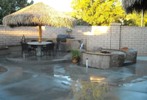
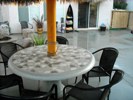
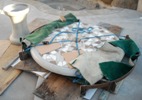
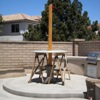
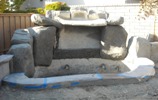
 Today they lowered the table onto the pedestal & installed the main 14' palapas.

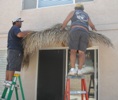
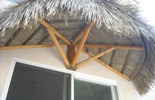
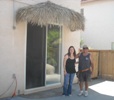
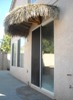
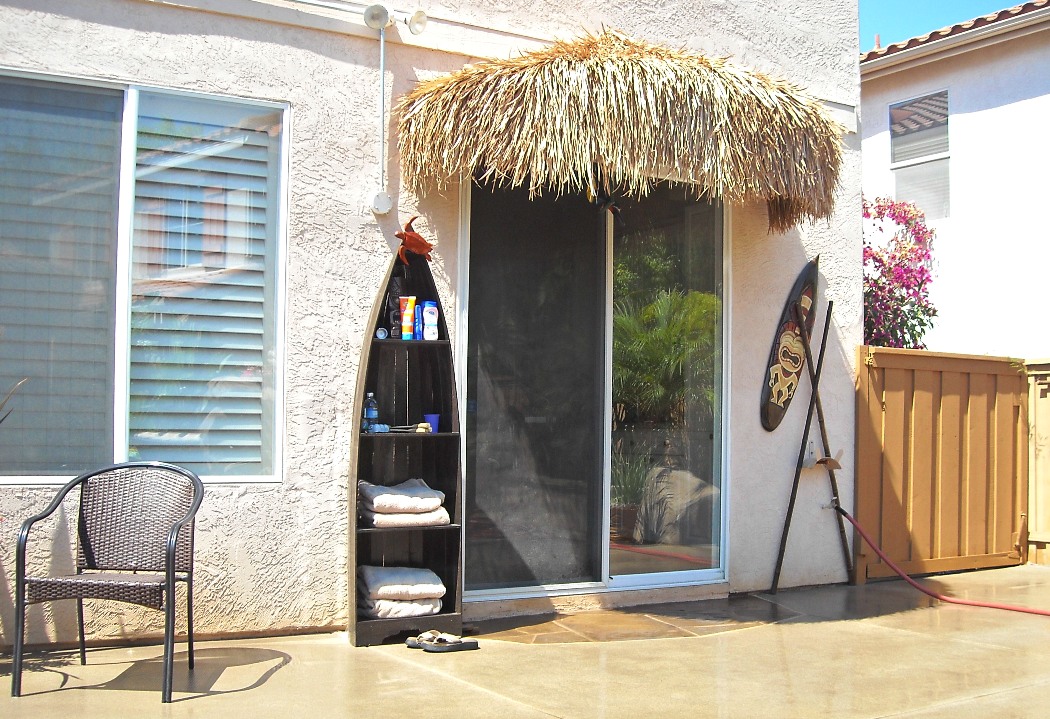
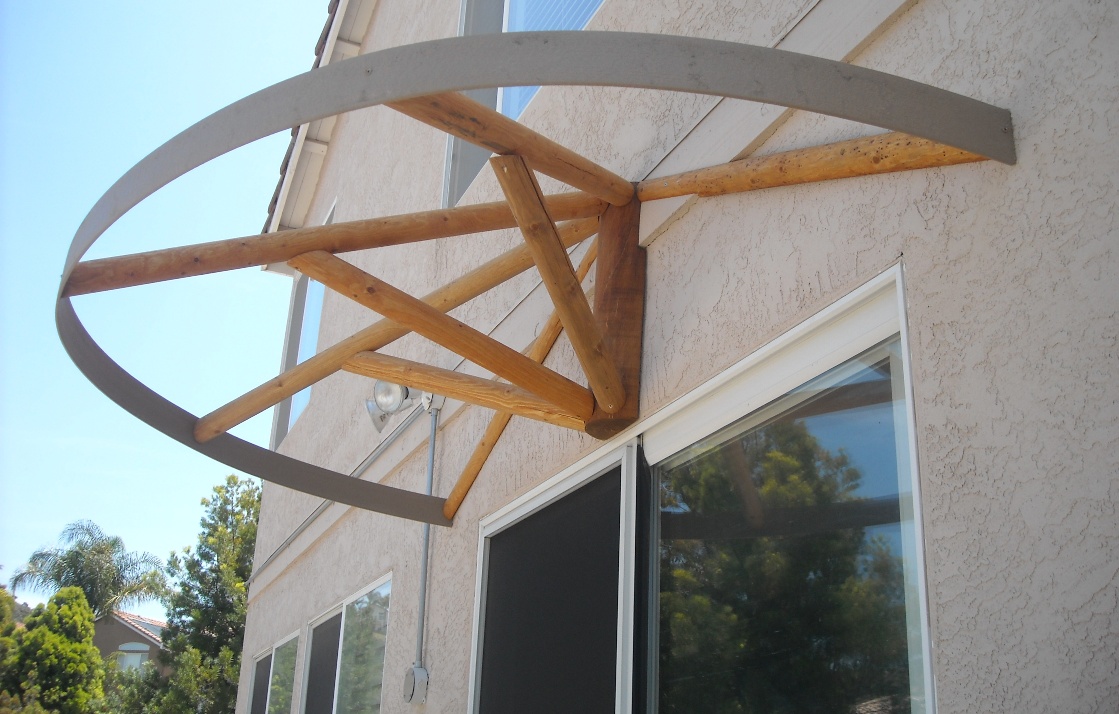
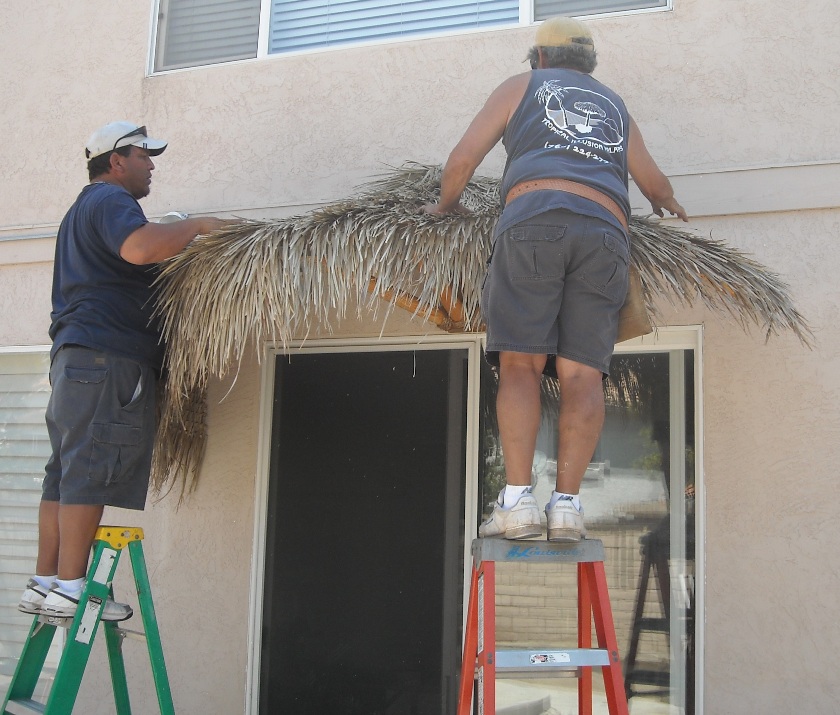
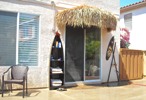
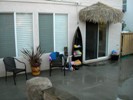
 Today they installed the shade canopy for the sliding doors to match the same design as the palapas.
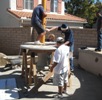
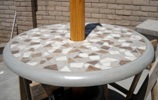
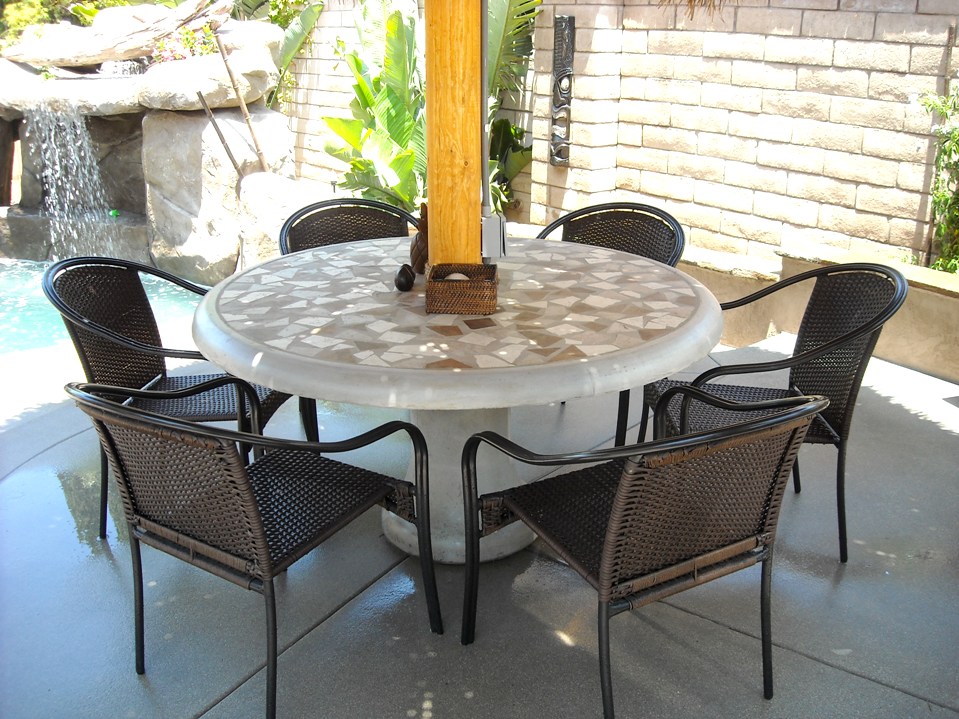
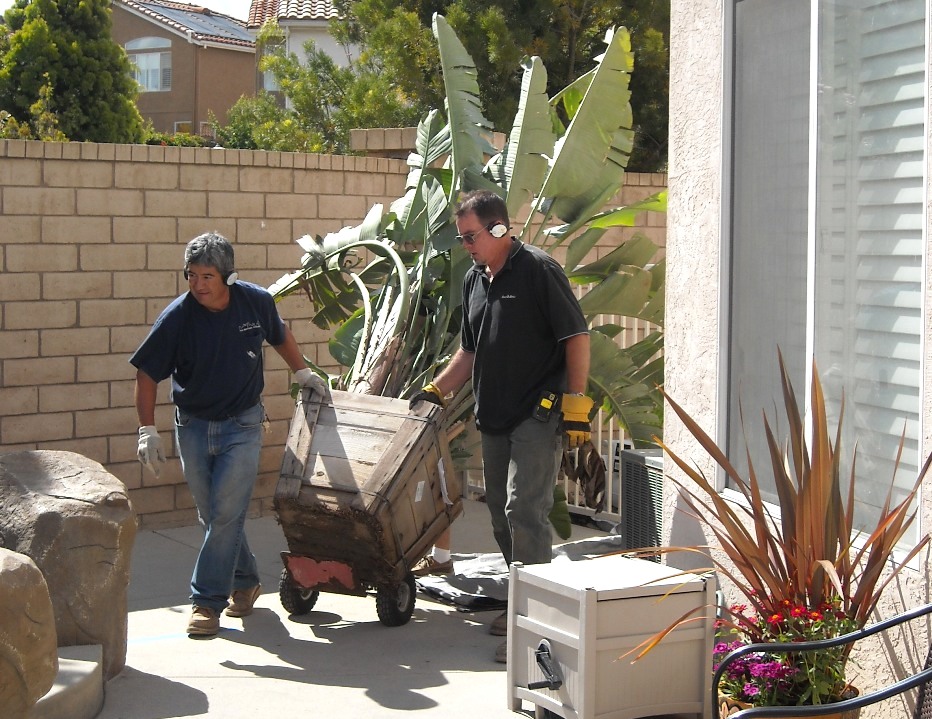
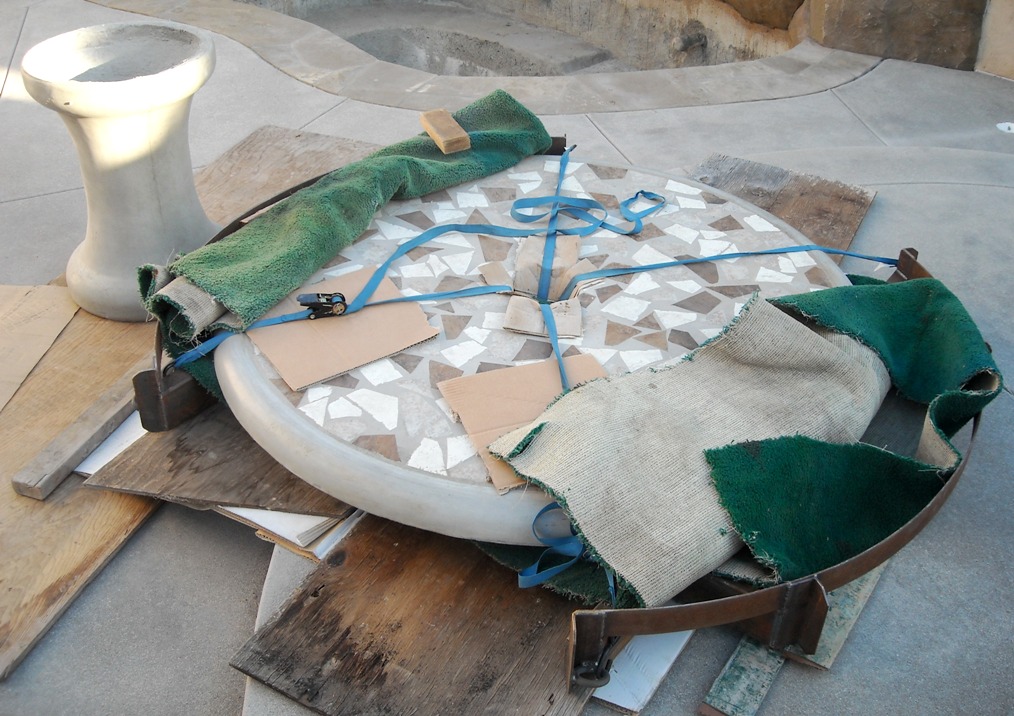
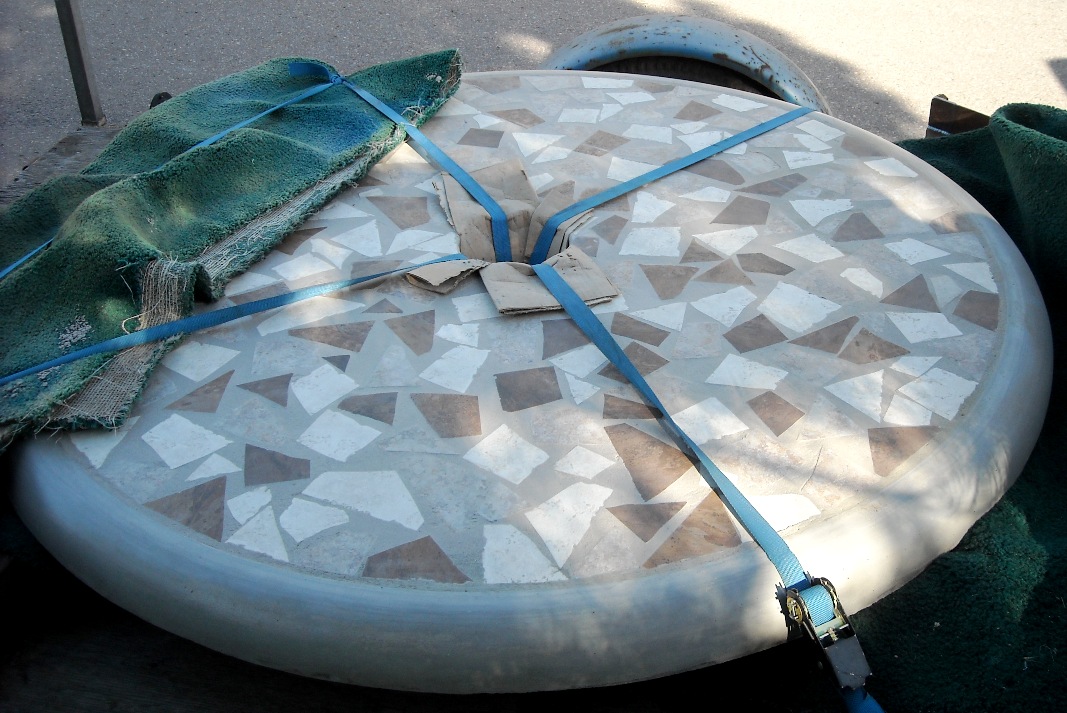
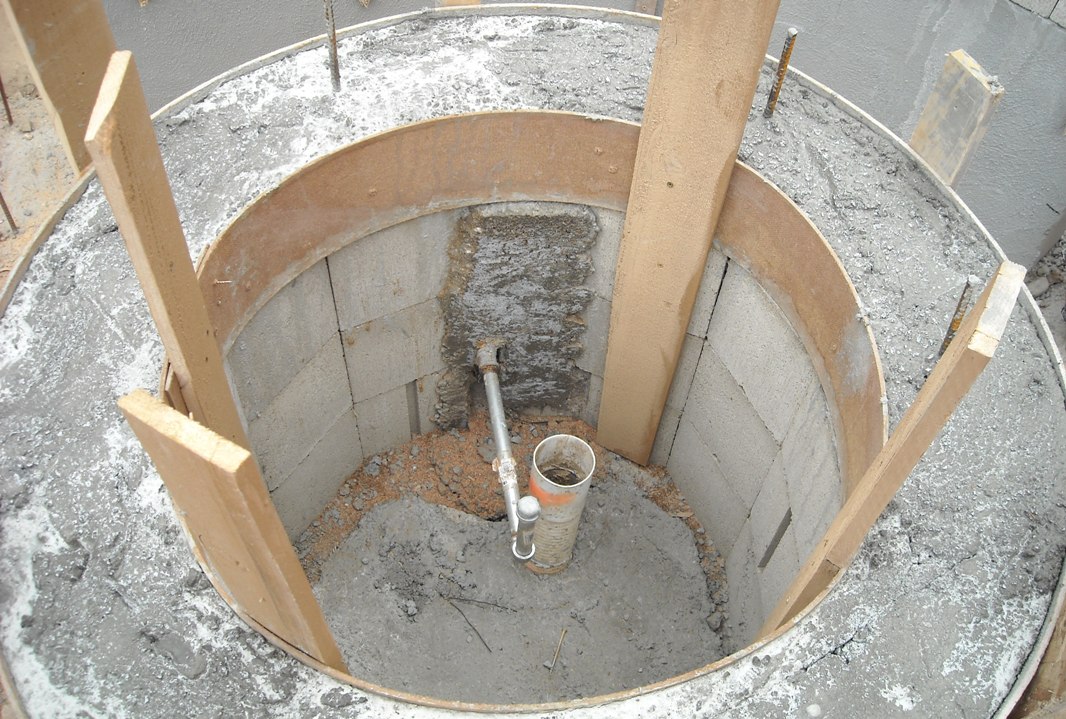
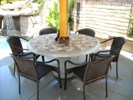
 The 500 lb. 5' diameter concrete table was delivered along with the matching base from Baja. The
five of us lifted it up onto a wood frame to align the palapas center post which needed to be filled with concrete.
The 500 lb. 5' diameter concrete table was delivered along with the matching base from Baja. The
five of us lifted it up onto a wood frame to align the palapas center post which needed to be filled with concrete.
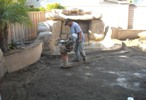
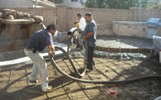
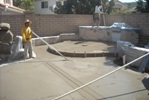
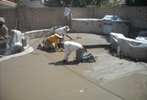
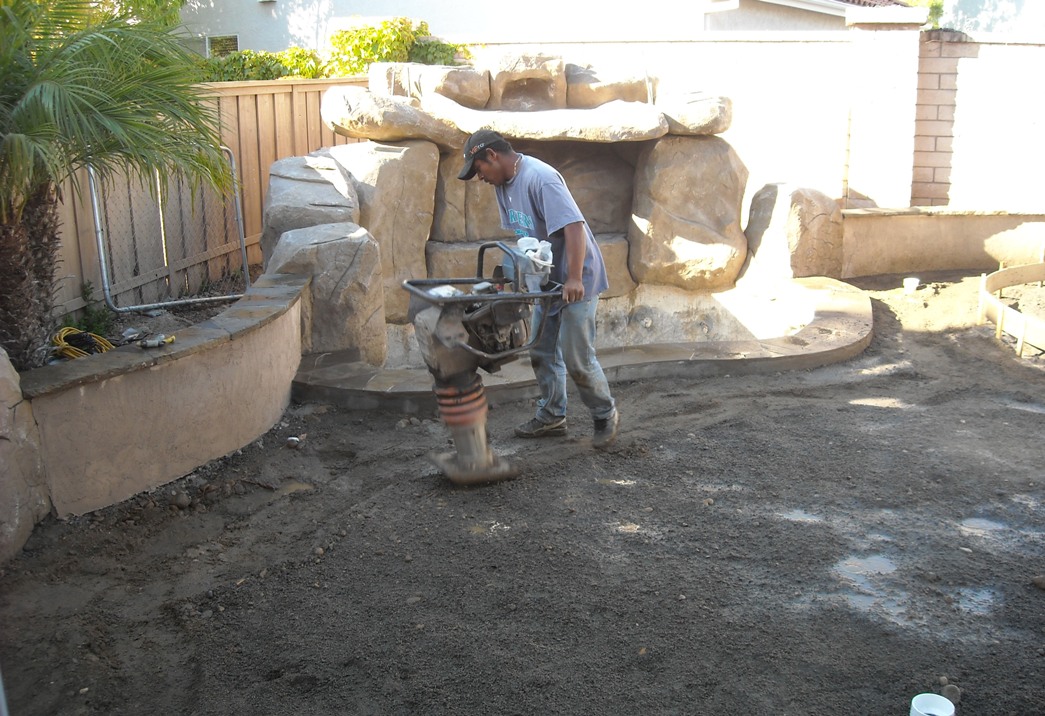
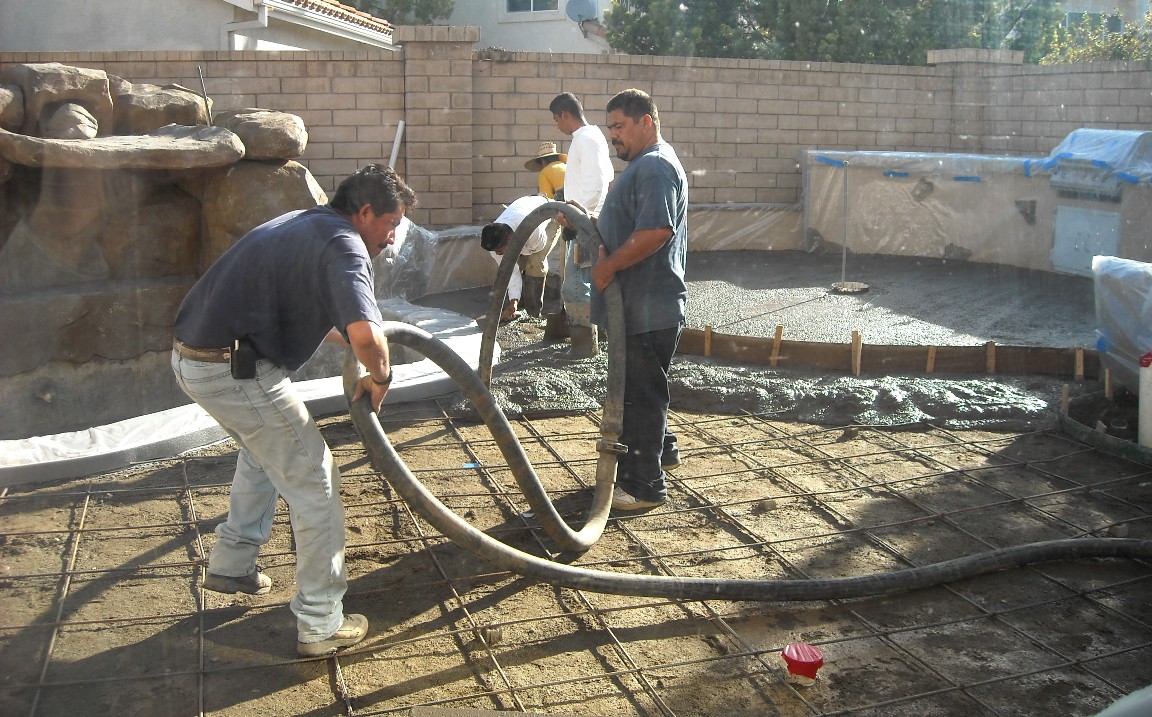
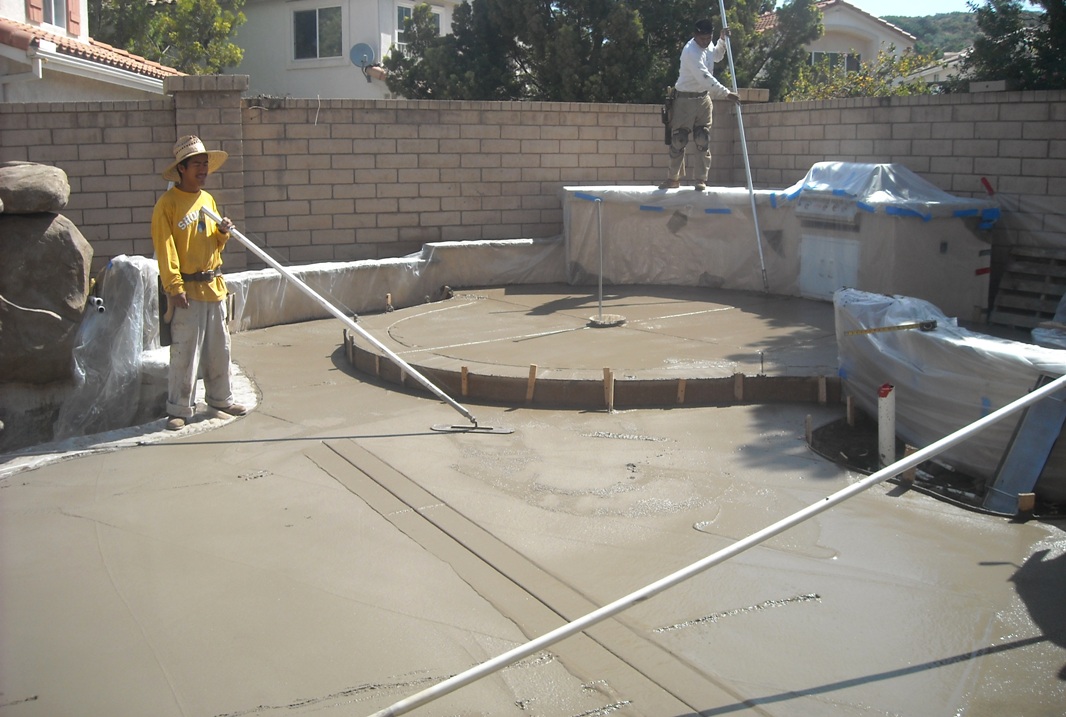
 They compacted the dirt and laid-out the rebar for the patio area. And on Friday 07 May they finally poured
the concrete! And the 5-foot diameter palapas concrete table was finished with matching spa/BBQ island tiles inlaid into the surface. Looks awesome
with three colored tiles!
They compacted the dirt and laid-out the rebar for the patio area. And on Friday 07 May they finally poured
the concrete! And the 5-foot diameter palapas concrete table was finished with matching spa/BBQ island tiles inlaid into the surface. Looks awesome
with three colored tiles!
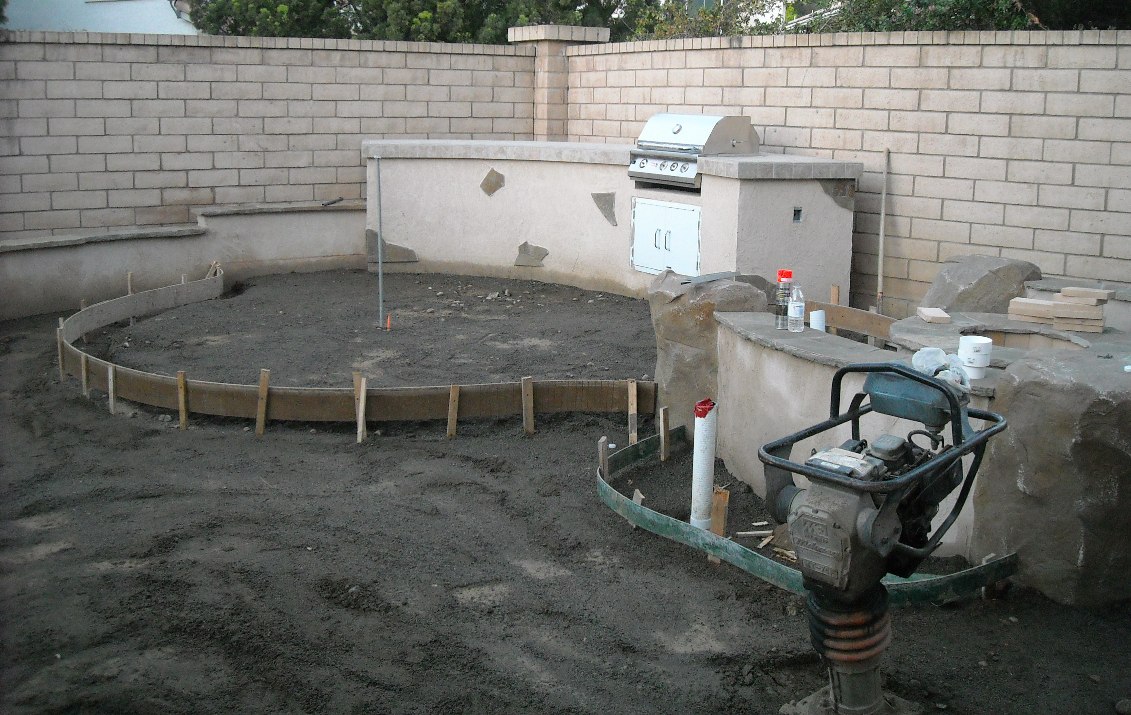
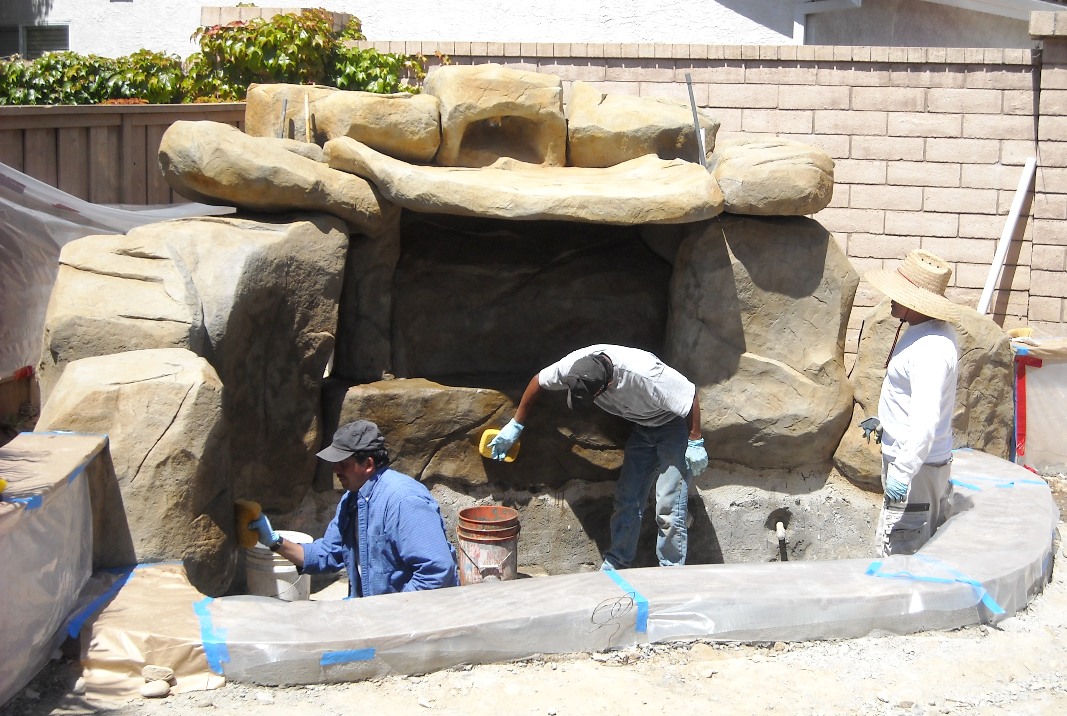
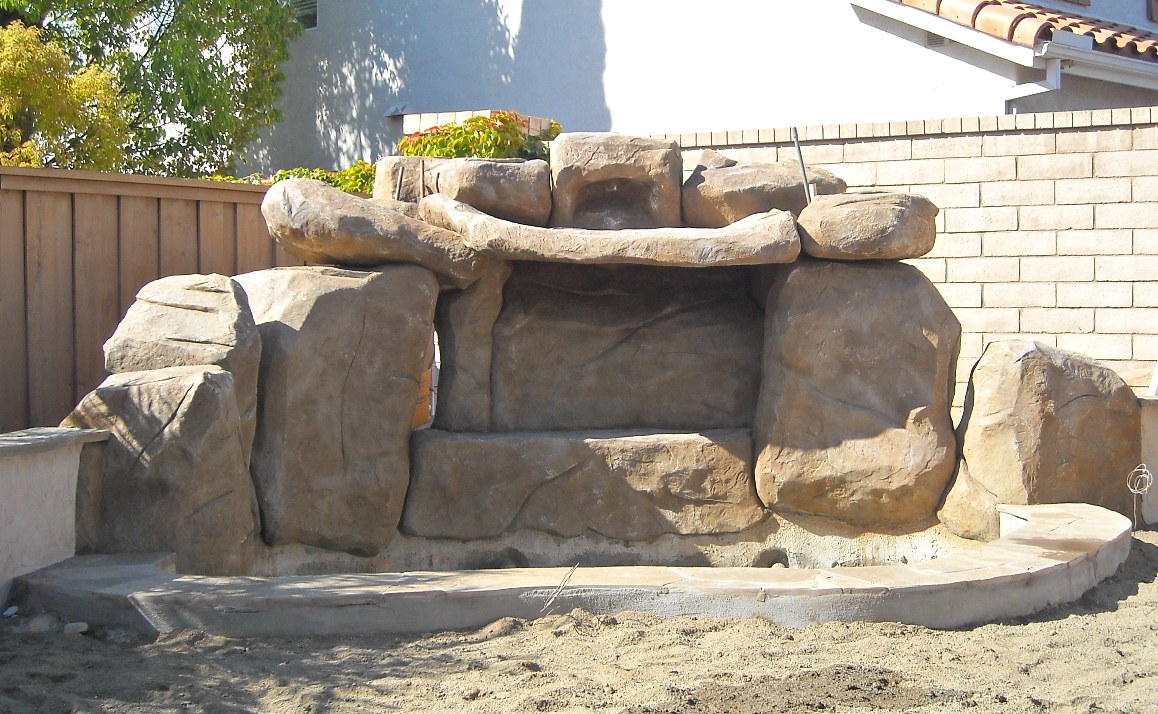
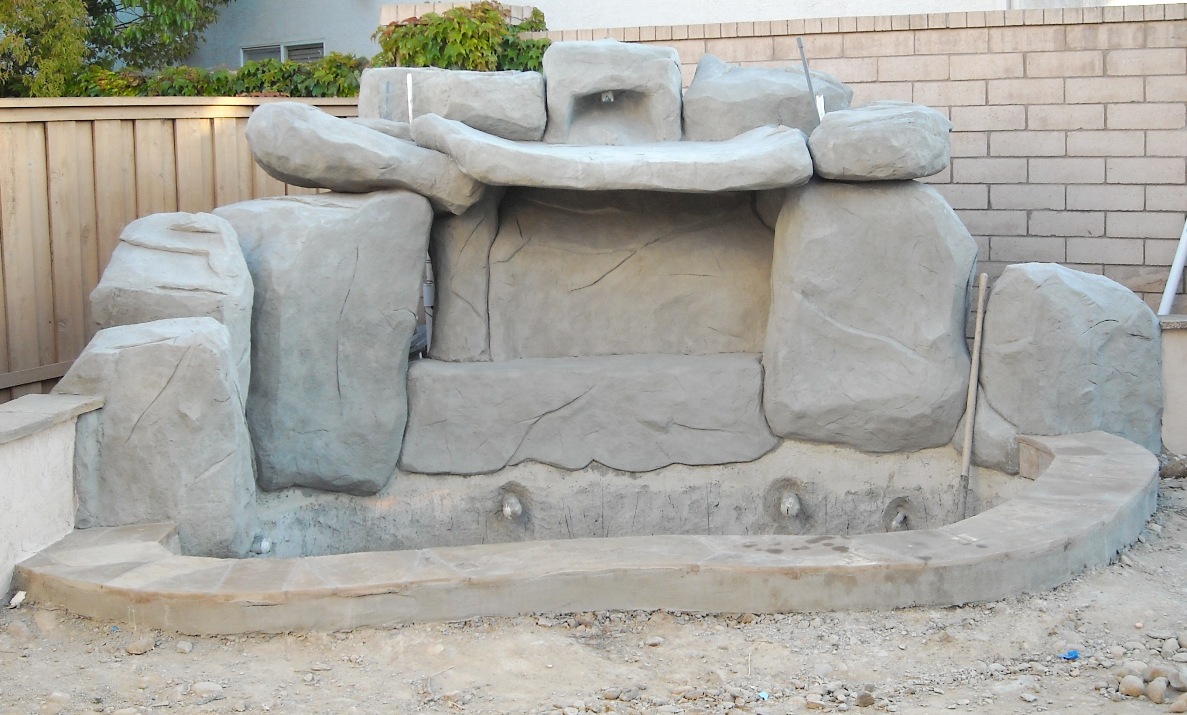
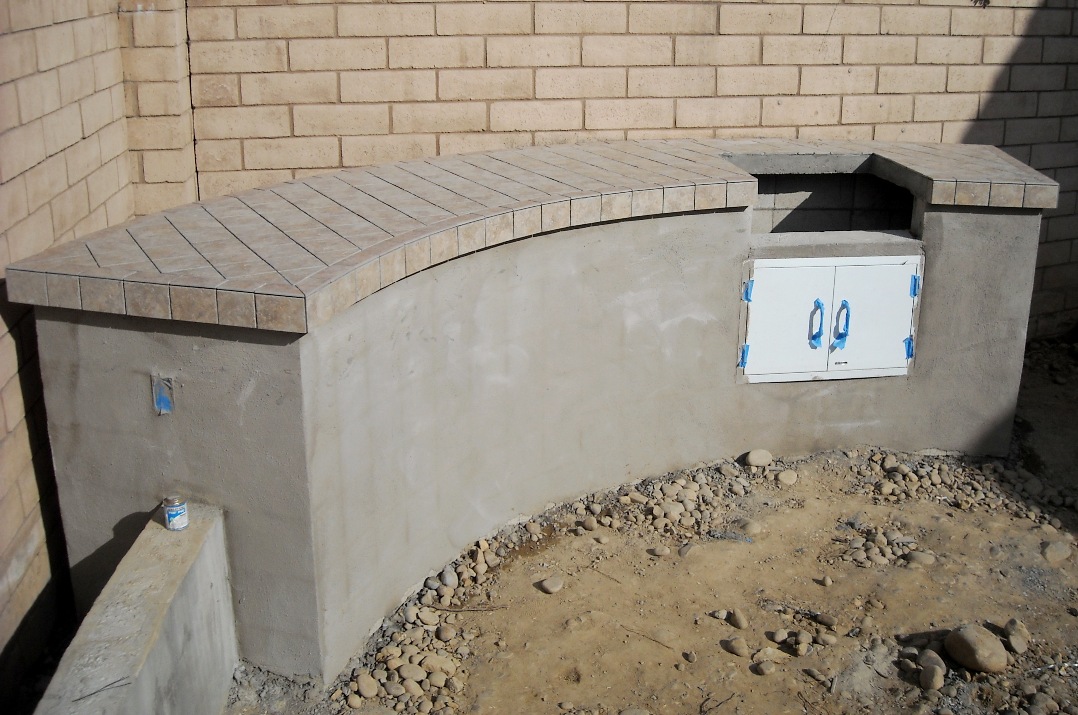
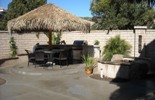
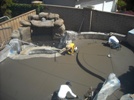
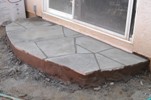
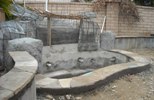
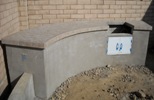
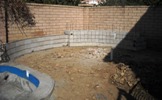
 Today the rocks got their final painting to match the stone colors. The stucco was applied to the walls but it's
too "peachy" for us so we're having it painted with the house in early June. They also laid soft dirt over the hard patio walking area as the first
stage of laying the multi-level patio concrete.
Today the rocks got their final painting to match the stone colors. The stucco was applied to the walls but it's
too "peachy" for us so we're having it painted with the house in early June. They also laid soft dirt over the hard patio walking area as the first
stage of laying the multi-level patio concrete.
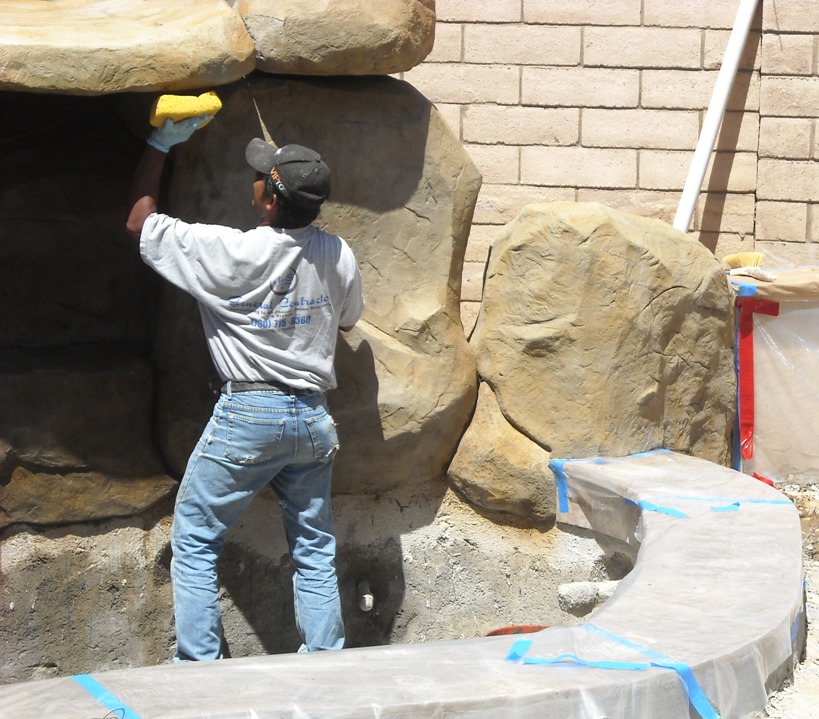
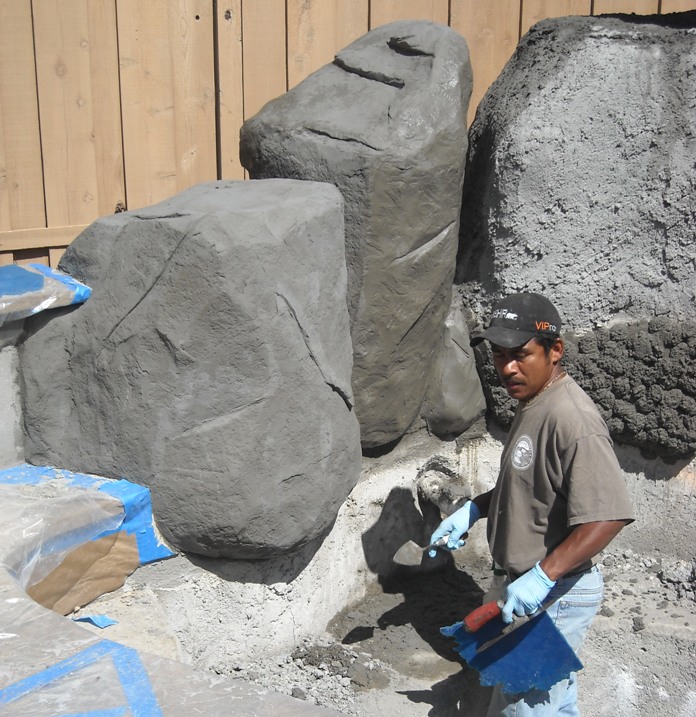
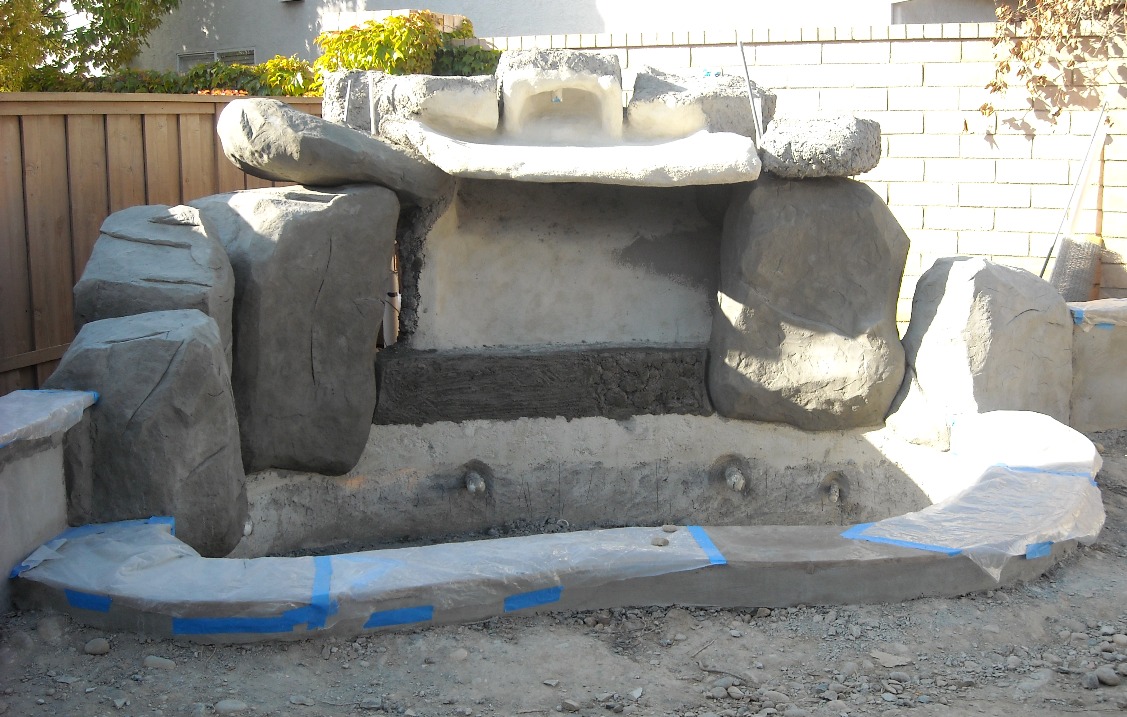
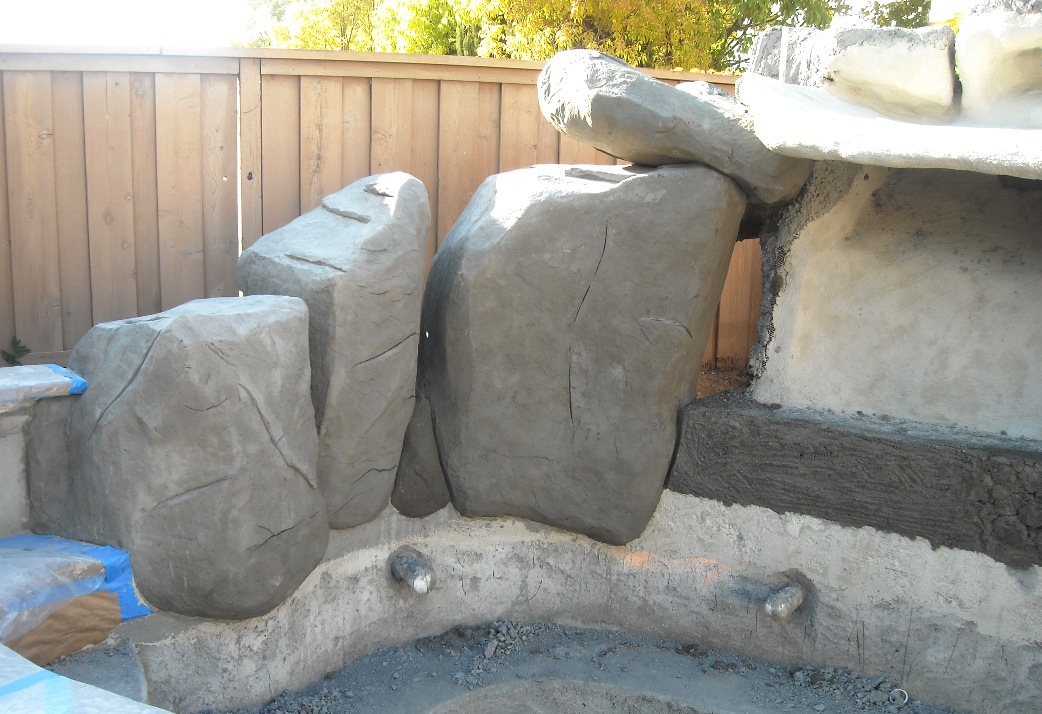
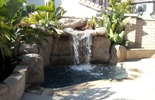
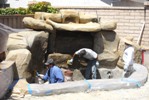
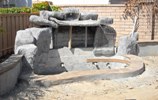
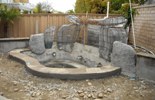
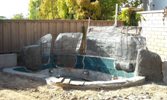
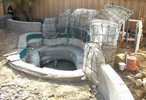
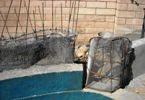
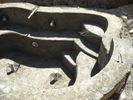
 More of the waterfall rock formations were improved with realistic designs & textures. The water spillway was coated
with a waterproof sealer. The rocks will all be painted to match the other stones.
More of the waterfall rock formations were improved with realistic designs & textures. The water spillway was coated
with a waterproof sealer. The rocks will all be painted to match the other stones.


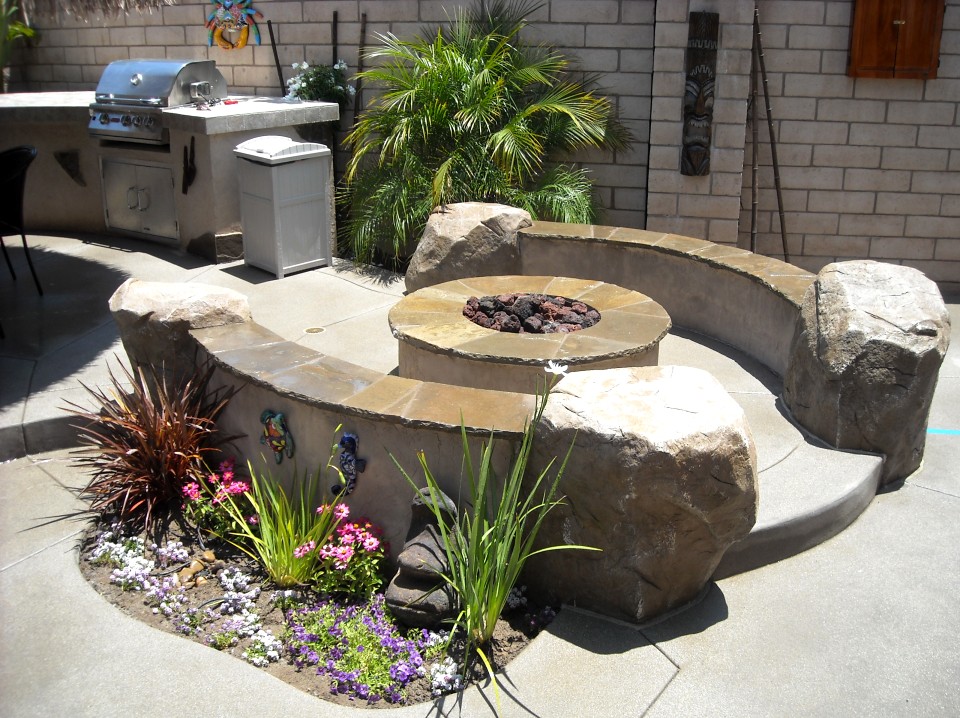
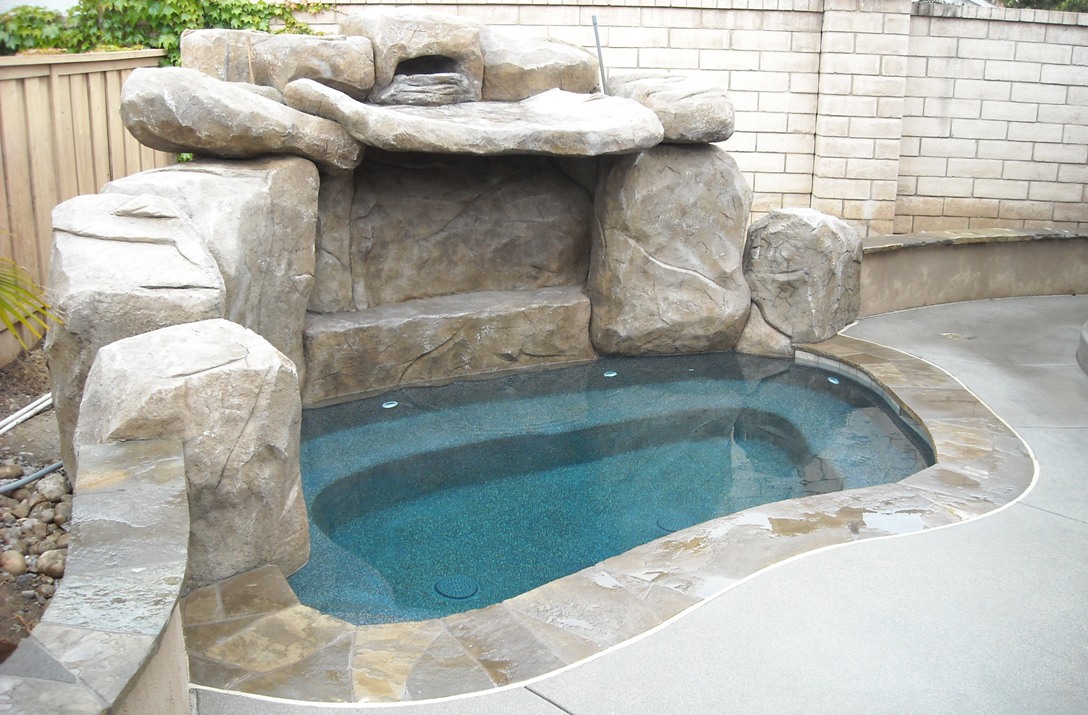
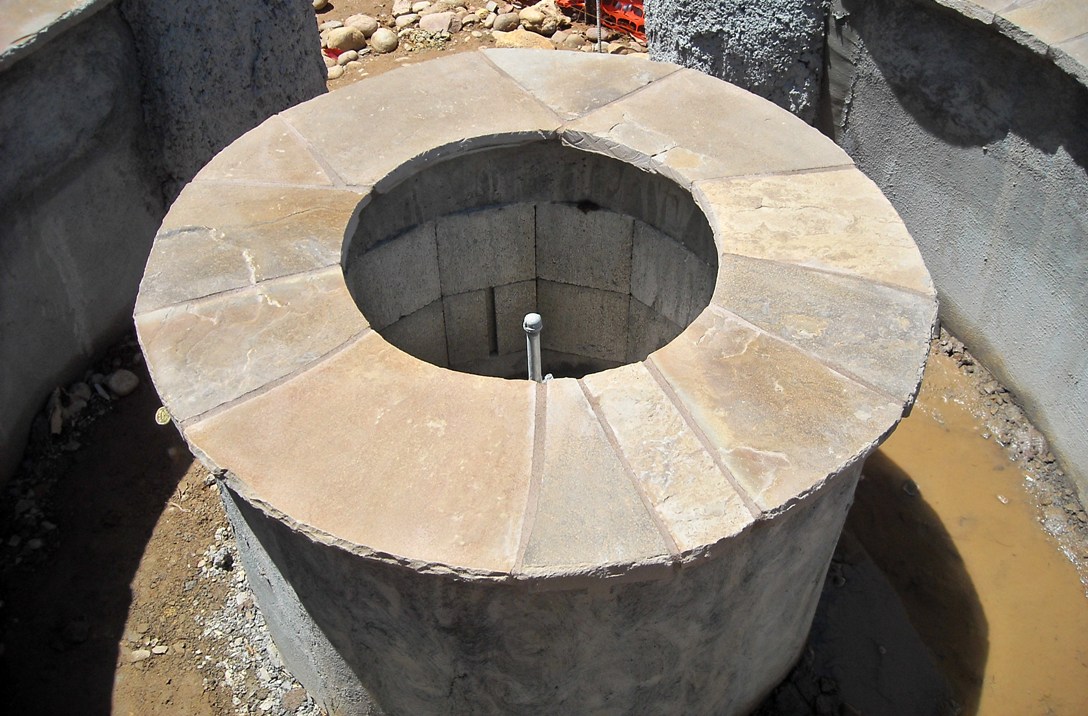
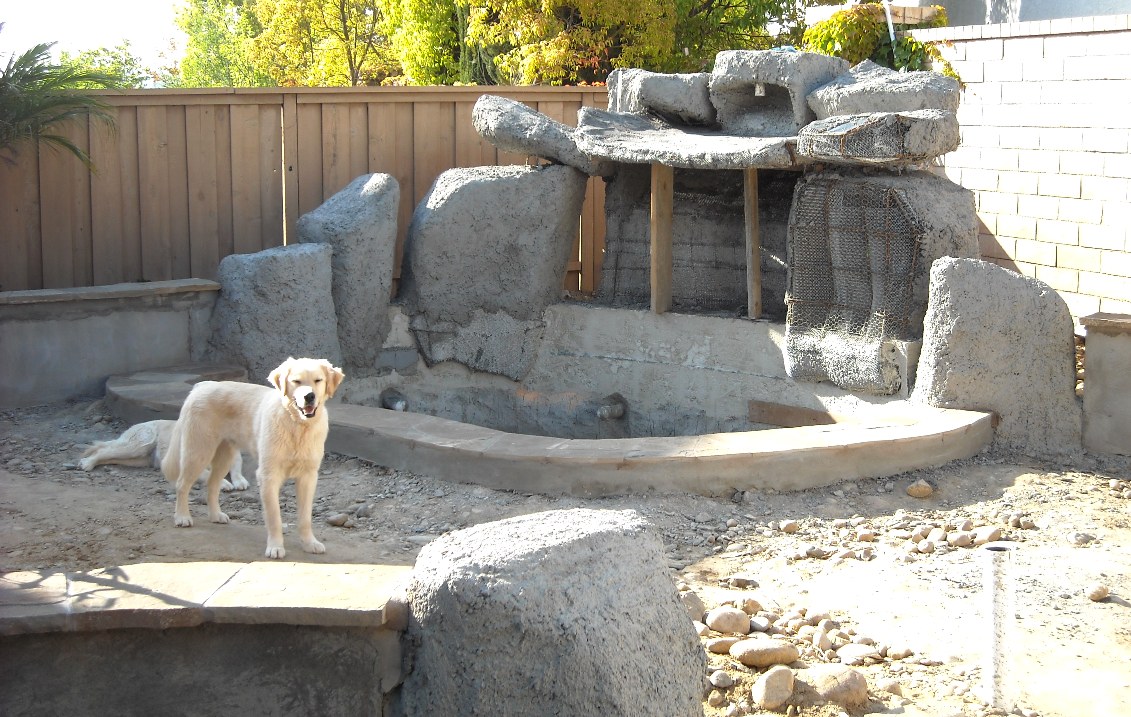
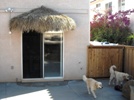
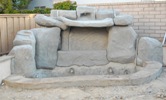
 The brown stone grout was filled into the spa coping, sitting walls, fire pit, & back step and they were trimmed for a
smooth edge. The spa waterline tiles were installed. And the waterfall rock formations were finally filled-in to be solid and give us a much better idea
of how it's all going to look. The two dogs get access to the full backyard after the workers leave, so they're very happy now.
The brown stone grout was filled into the spa coping, sitting walls, fire pit, & back step and they were trimmed for a
smooth edge. The spa waterline tiles were installed. And the waterfall rock formations were finally filled-in to be solid and give us a much better idea
of how it's all going to look. The two dogs get access to the full backyard after the workers leave, so they're very happy now.
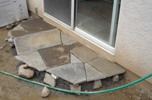
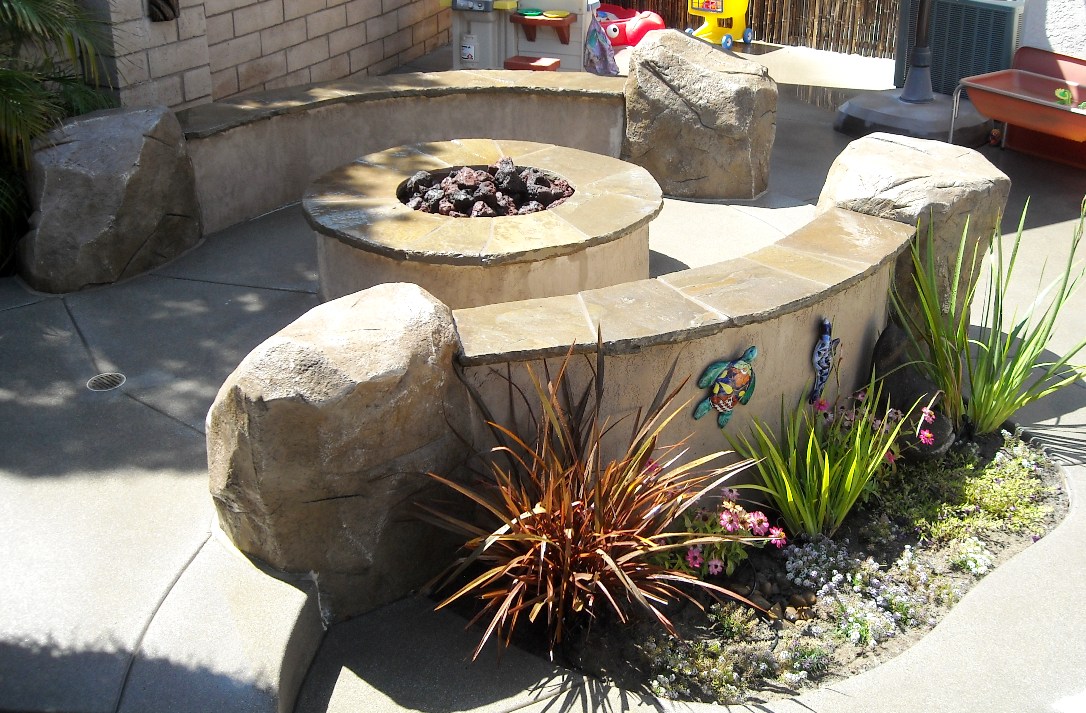
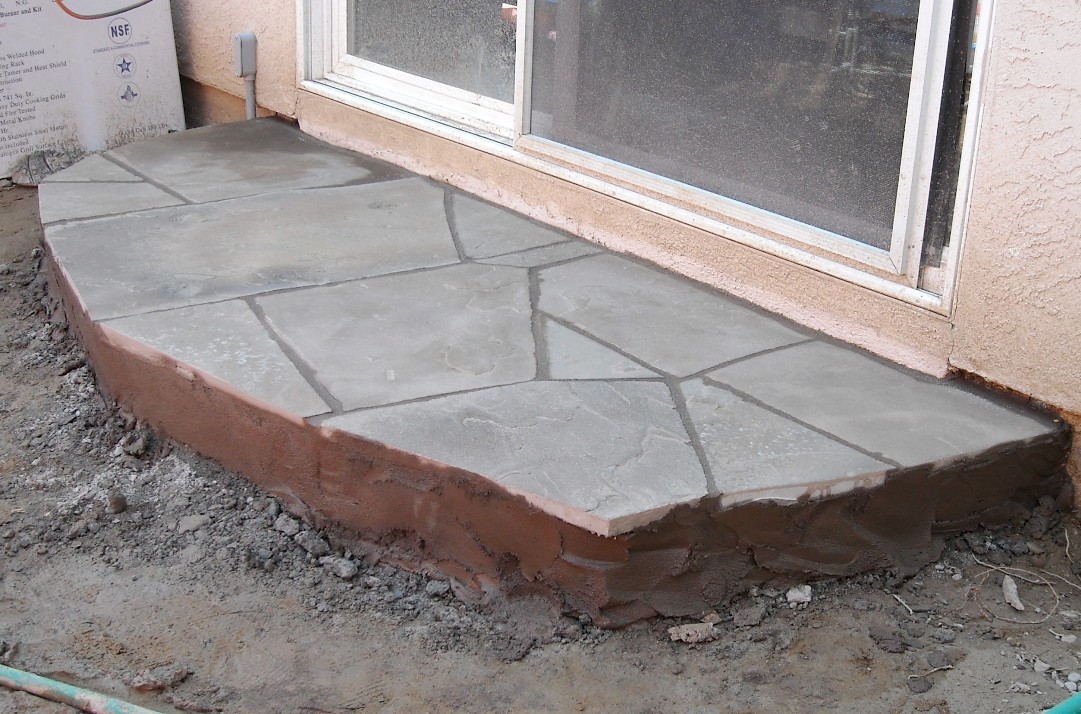
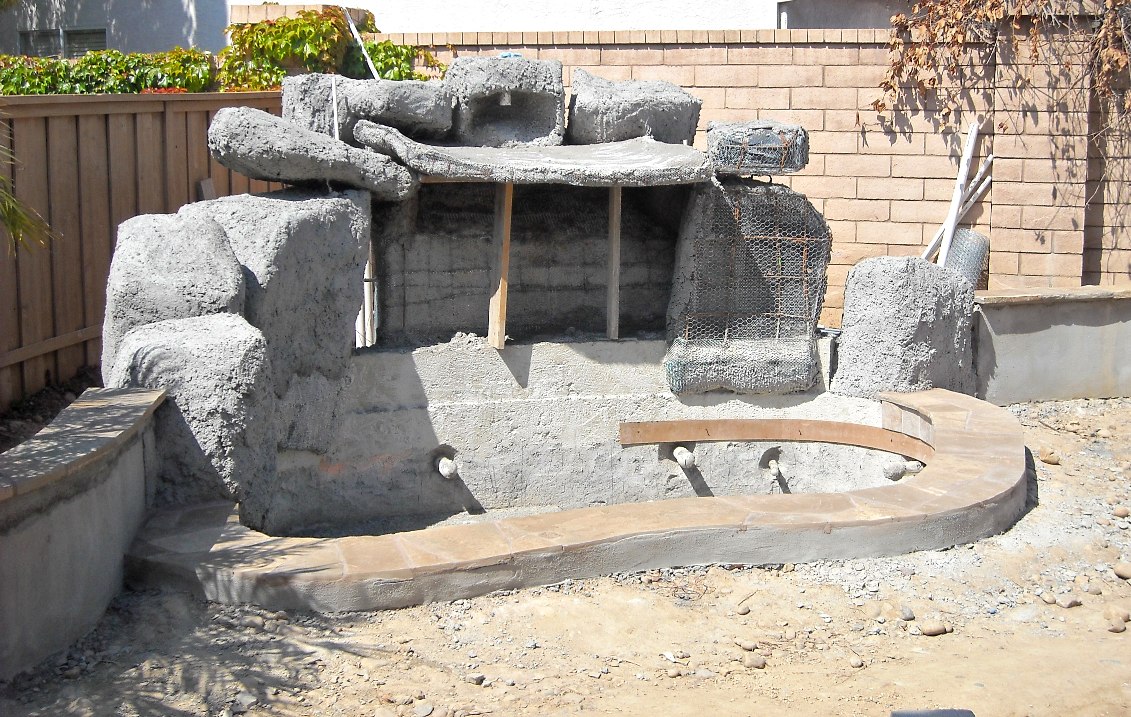
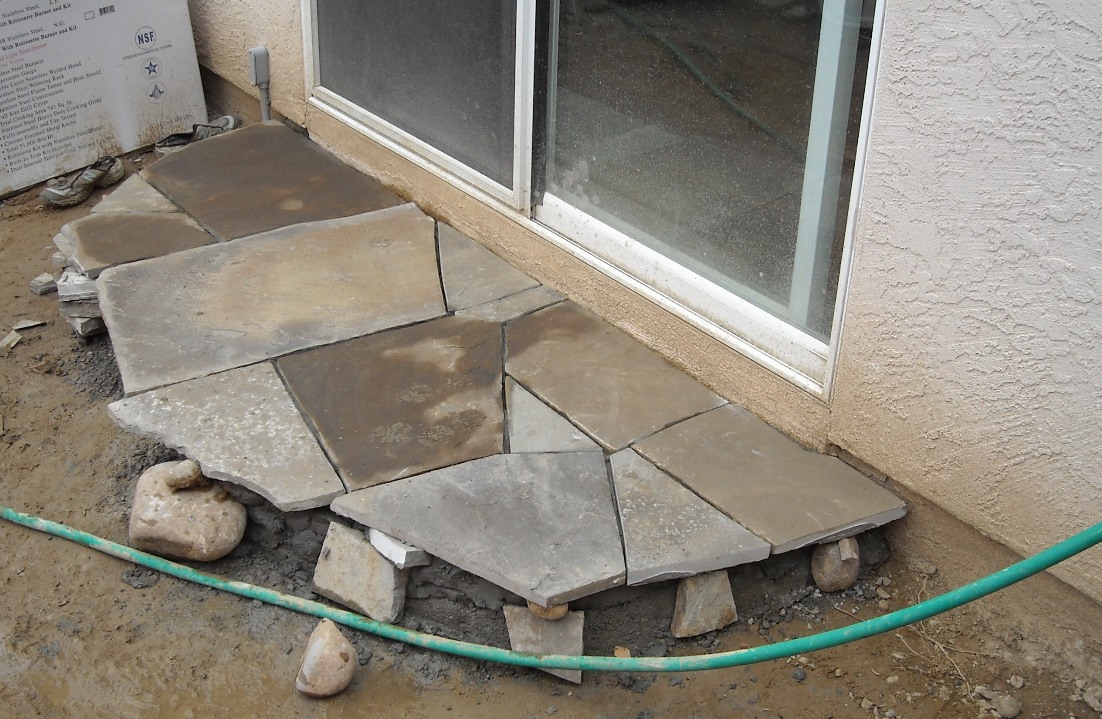
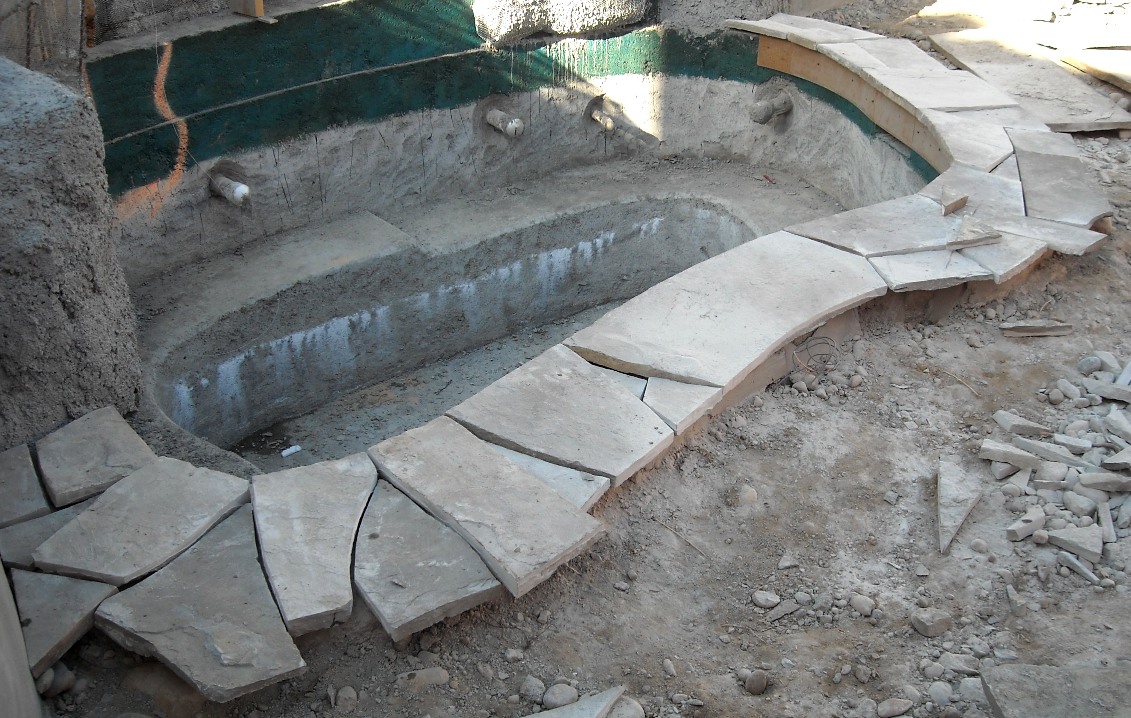
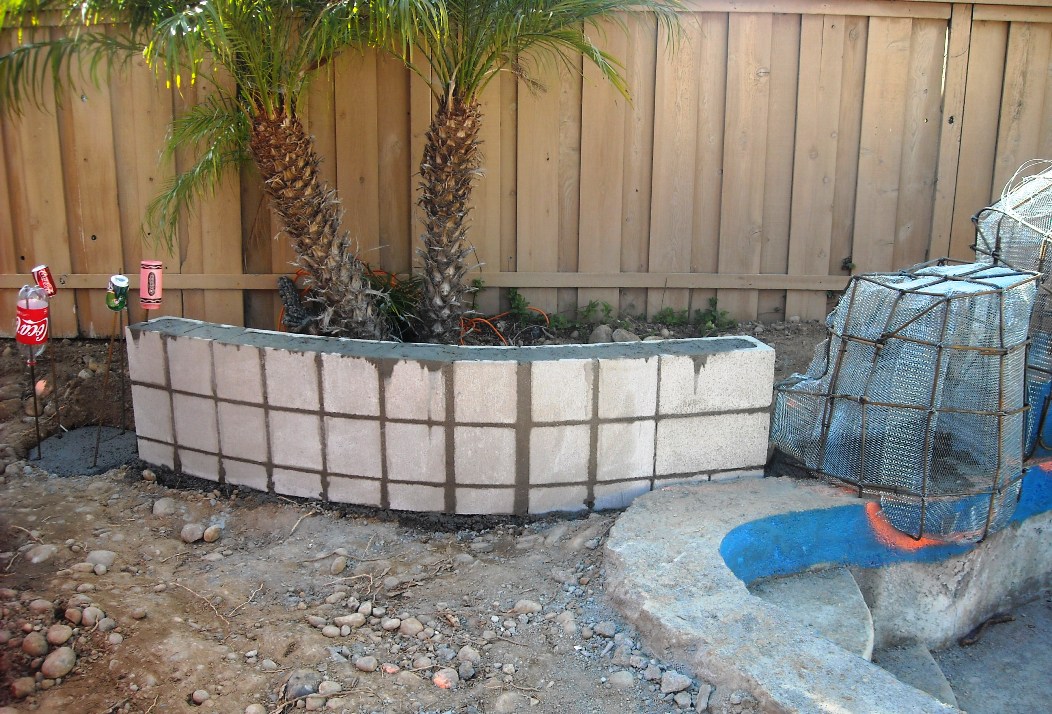
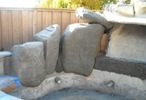
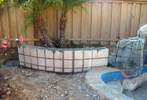
 All the stone pieces were set into place for the spa, fire pit, & sitting walls. Next will be the grout in between
the stones. They also added a small portion of the rear sitting wall to match the height of the elevated palapas area. More of the waterfall spillway
rock was designed. And they laid a concrete section at the back door with stone which will get surrounded by the back patio concrete.
All the stone pieces were set into place for the spa, fire pit, & sitting walls. Next will be the grout in between
the stones. They also added a small portion of the rear sitting wall to match the height of the elevated palapas area. More of the waterfall spillway
rock was designed. And they laid a concrete section at the back door with stone which will get surrounded by the back patio concrete.
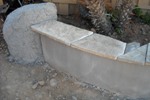

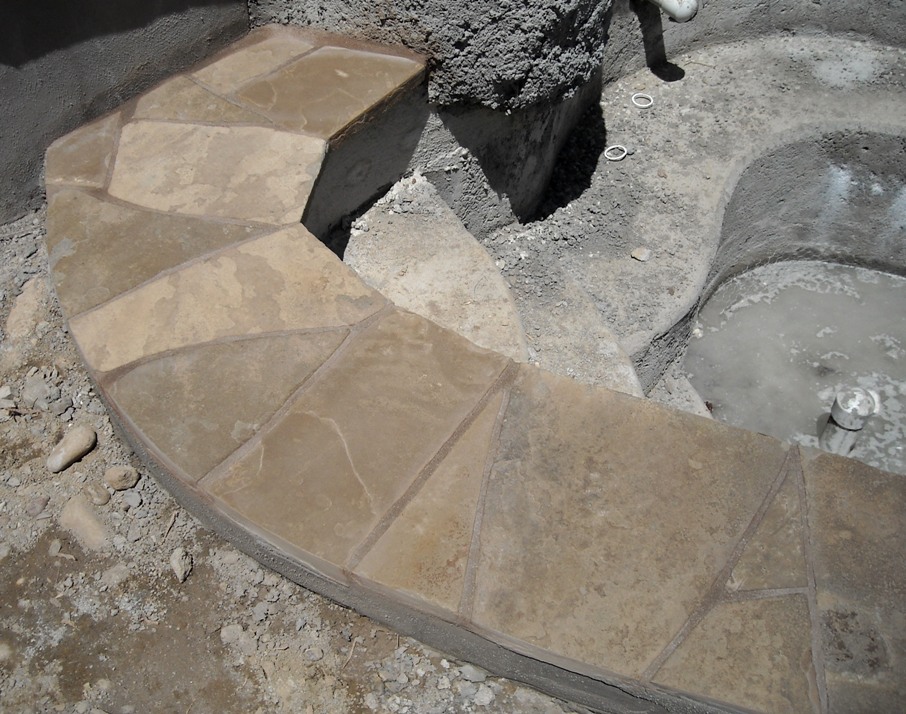
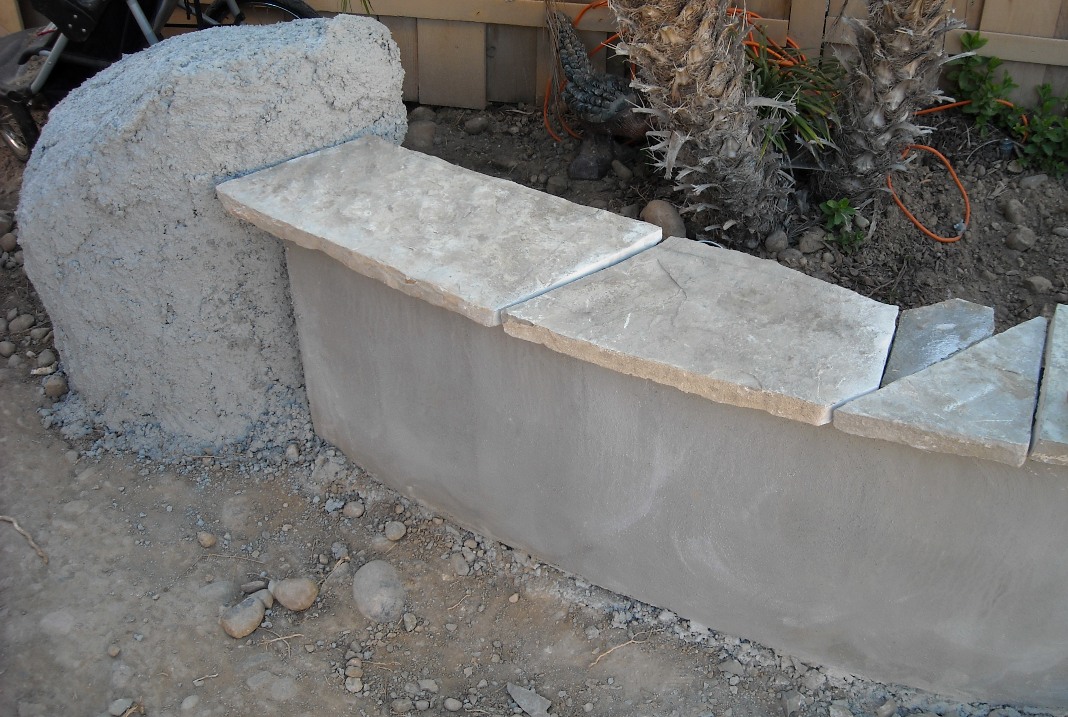
 The "Homestead" stone arrived and they began cutting it to fit on the walls & spa coping. So nice to see the brown
color was a perfect fit to the BBQ tile and backyard walls. The waterfall spillway structure was laid-out, giving us a better idea of how it's
going to look.
The "Homestead" stone arrived and they began cutting it to fit on the walls & spa coping. So nice to see the brown
color was a perfect fit to the BBQ tile and backyard walls. The waterfall spillway structure was laid-out, giving us a better idea of how it's
going to look.


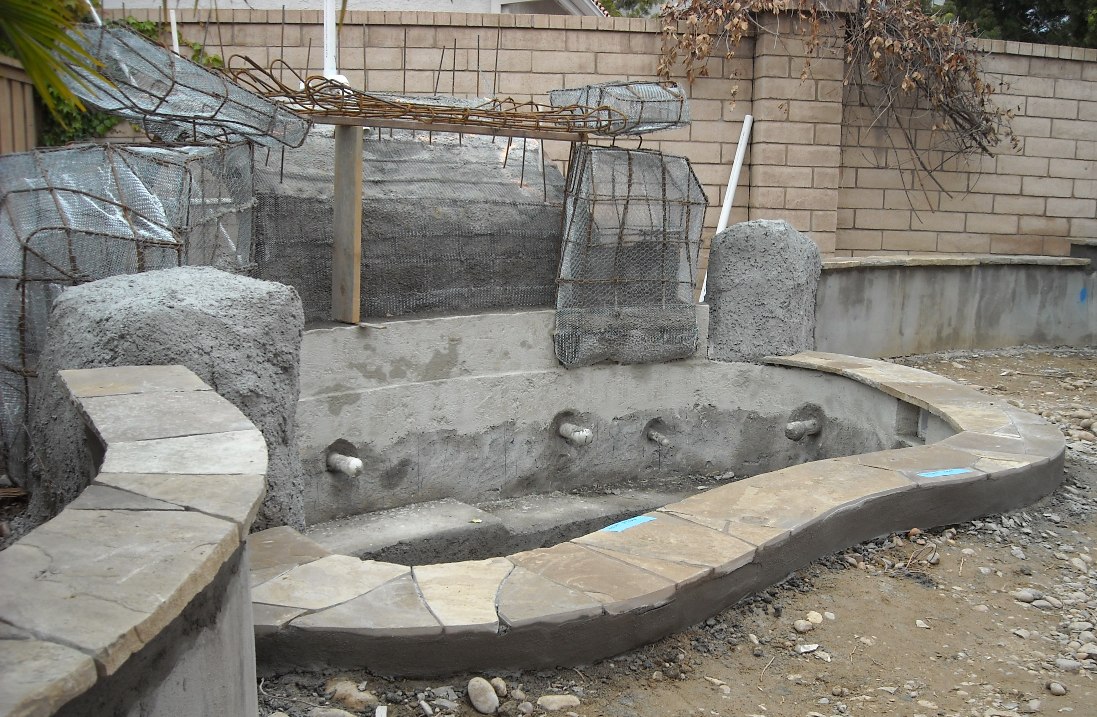
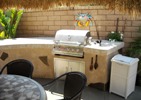
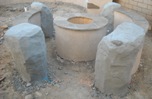
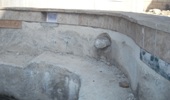
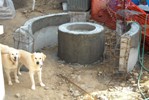
 The "mushroom" grout was applied into the tiles on the BBQ Island and it looks awesome. They finally filled the rock
formations at the fire pit & spa and it's beginning to come into focus. The top water pipe was installed today for the waterfall.
The "mushroom" grout was applied into the tiles on the BBQ Island and it looks awesome. They finally filled the rock
formations at the fire pit & spa and it's beginning to come into focus. The top water pipe was installed today for the waterfall.
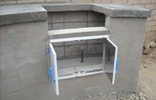

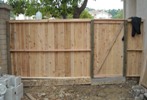
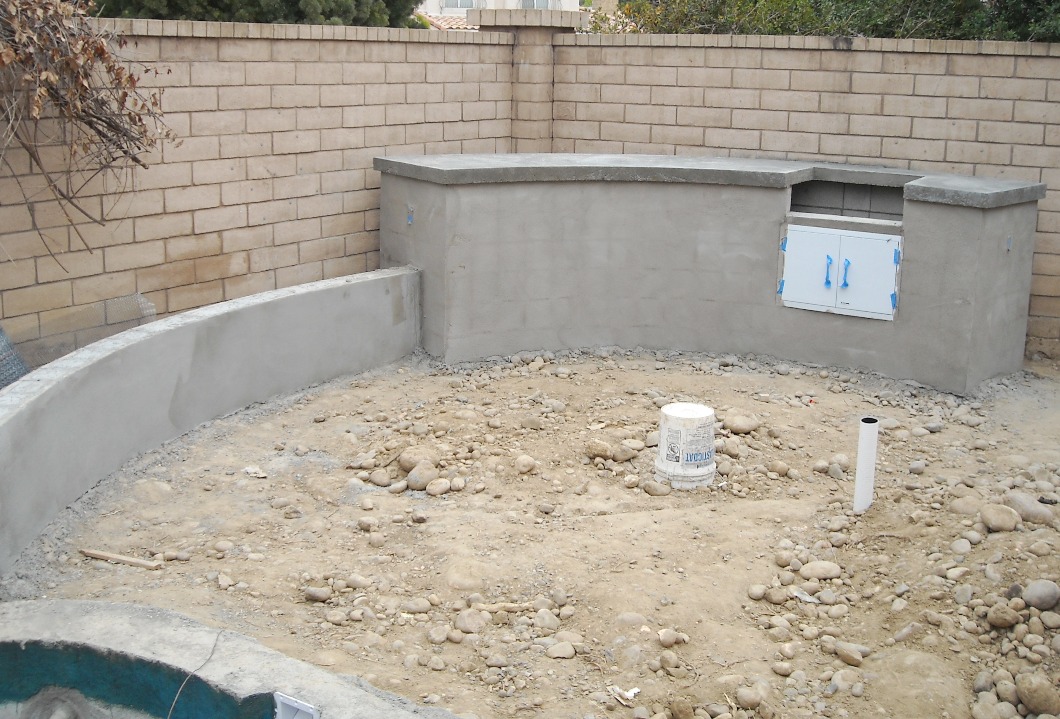
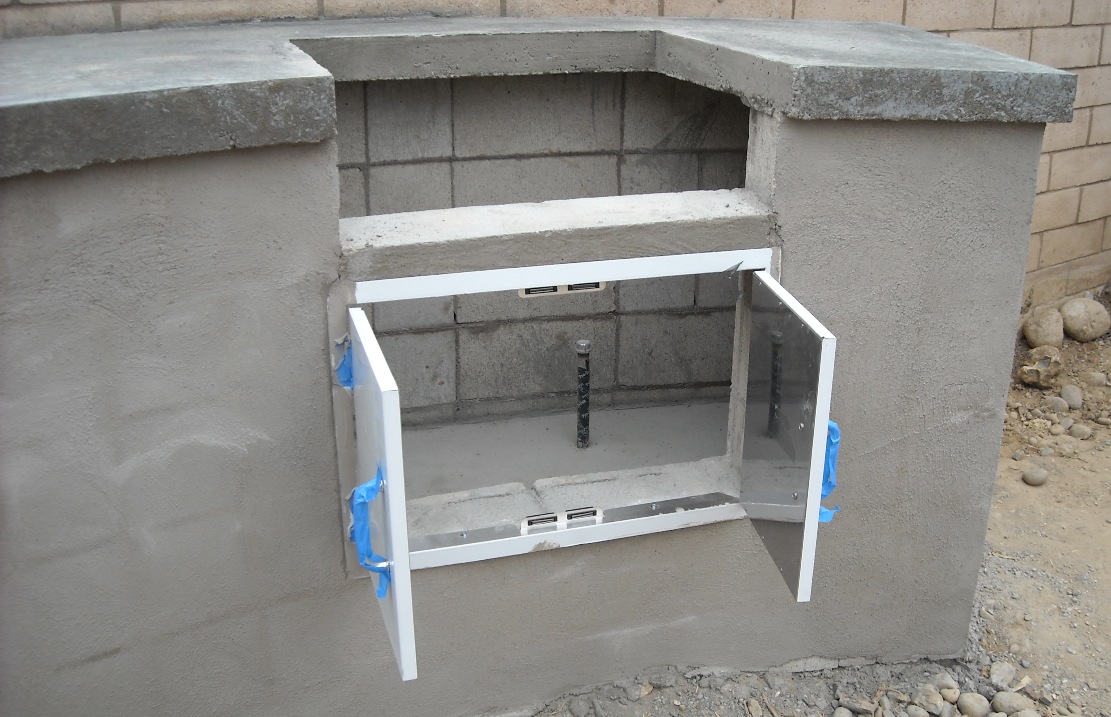
 The concrete top base for the BBQ island was poured, the ceramic tiles cut & laid-out, and the dual chrome doors were fitted.
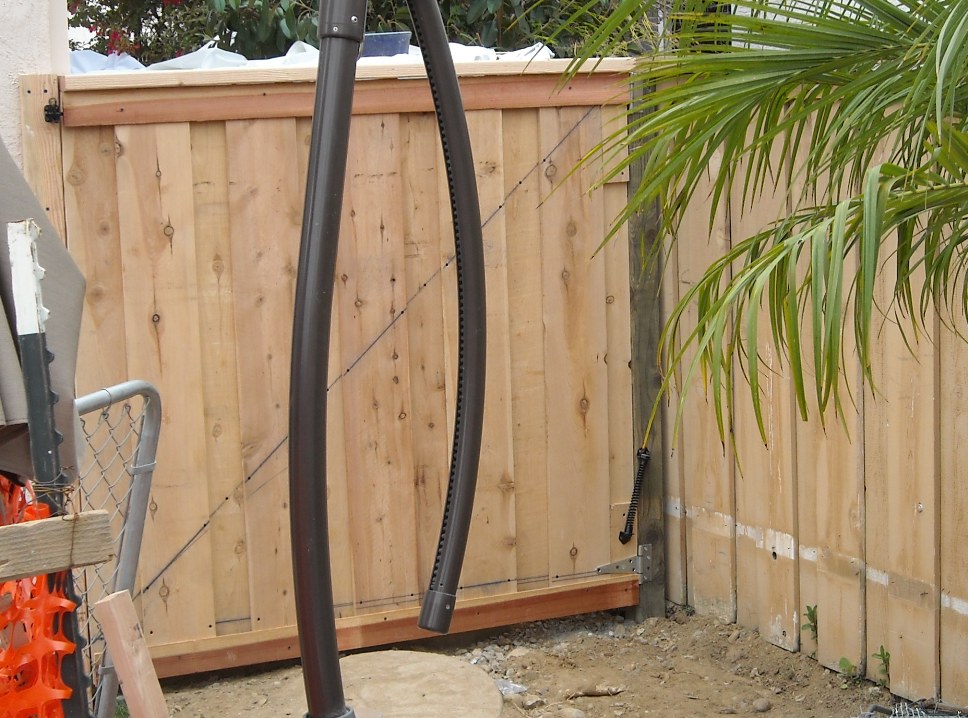
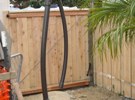
They made the fire pit walls & rocks taller and connected the gas pipe to the key. Wood gates for the front & side yards were built to keep the soccer balls
from going over & to hide the side storage stuff from view.
The concrete top base for the BBQ island was poured, the ceramic tiles cut & laid-out, and the dual chrome doors were fitted.
They made the fire pit walls & rocks taller and connected the gas pipe to the key. Wood gates for the front & side yards were built to keep the soccer balls
from going over & to hide the side storage stuff from view.
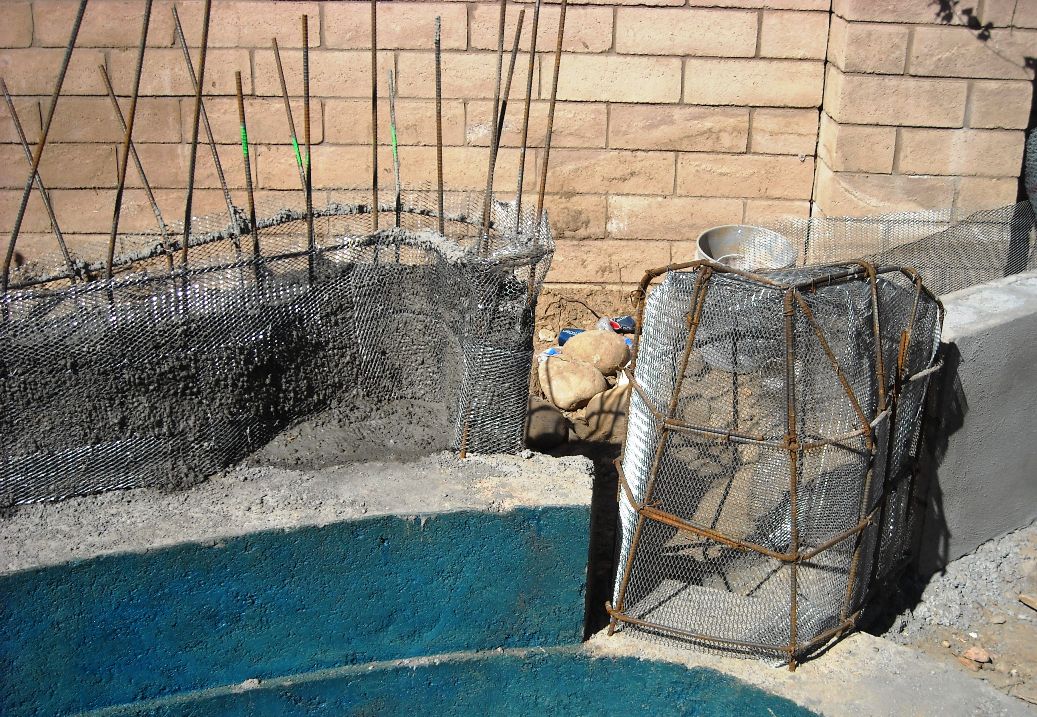
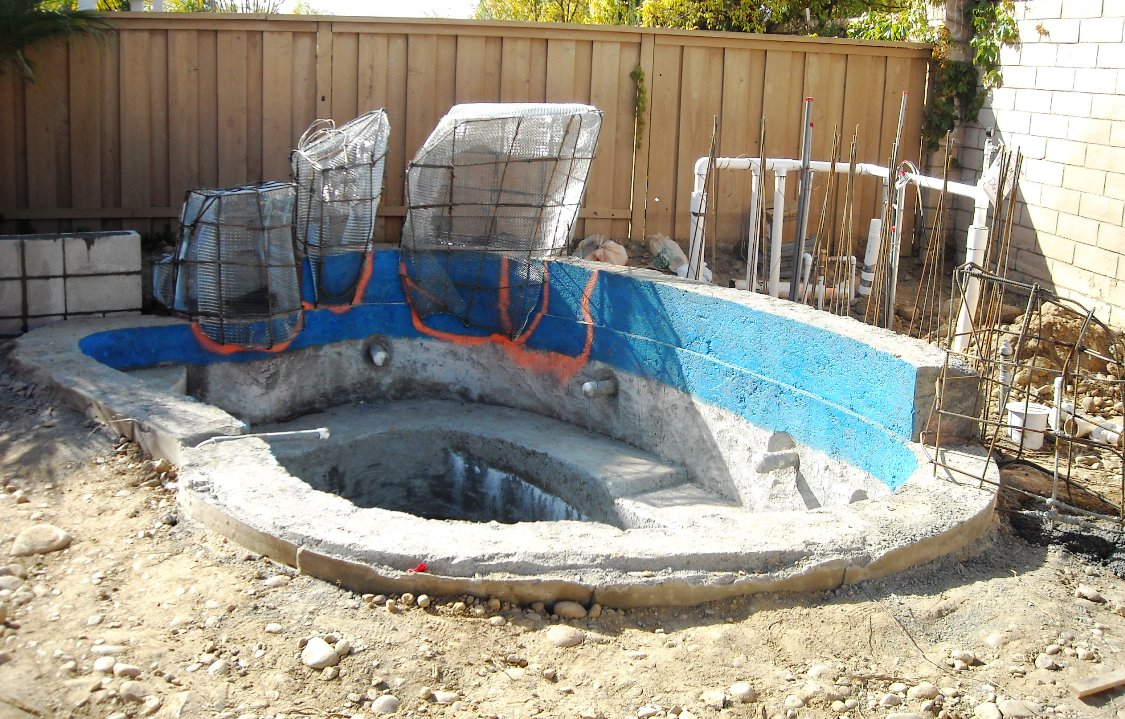
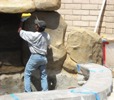
 More of the waterfall & end-cap rock formations were finalized today with thin-hole metal mesh filling the inner space
with chicken wire going over the outer area. The BBQ island and the fire pit walls got taller and they poured a concrete inner floor to the BBQ island so it will be
finishing inside.
More of the waterfall & end-cap rock formations were finalized today with thin-hole metal mesh filling the inner space
with chicken wire going over the outer area. The BBQ island and the fire pit walls got taller and they poured a concrete inner floor to the BBQ island so it will be
finishing inside.
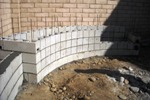
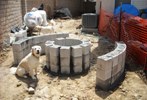
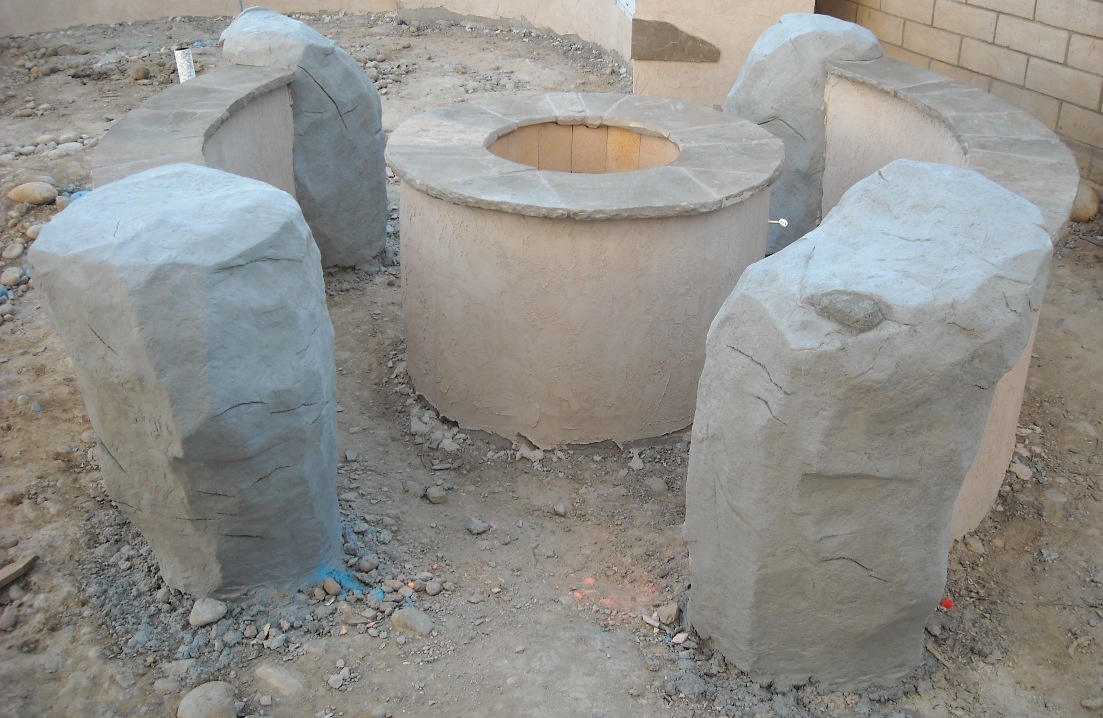
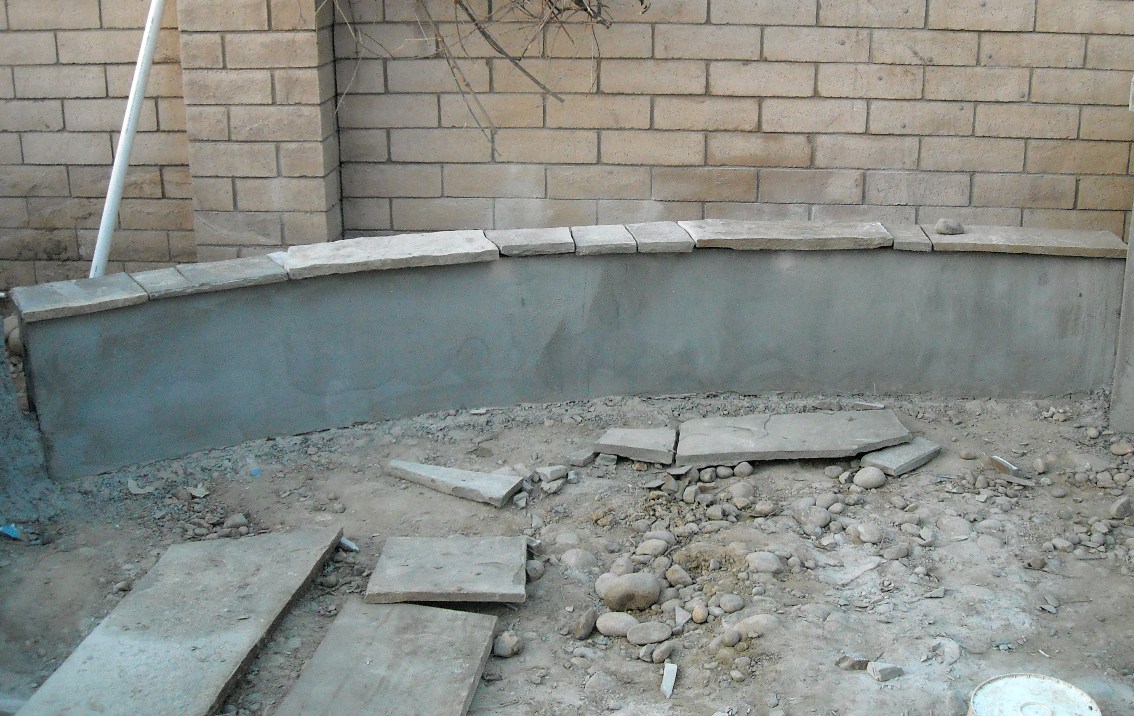
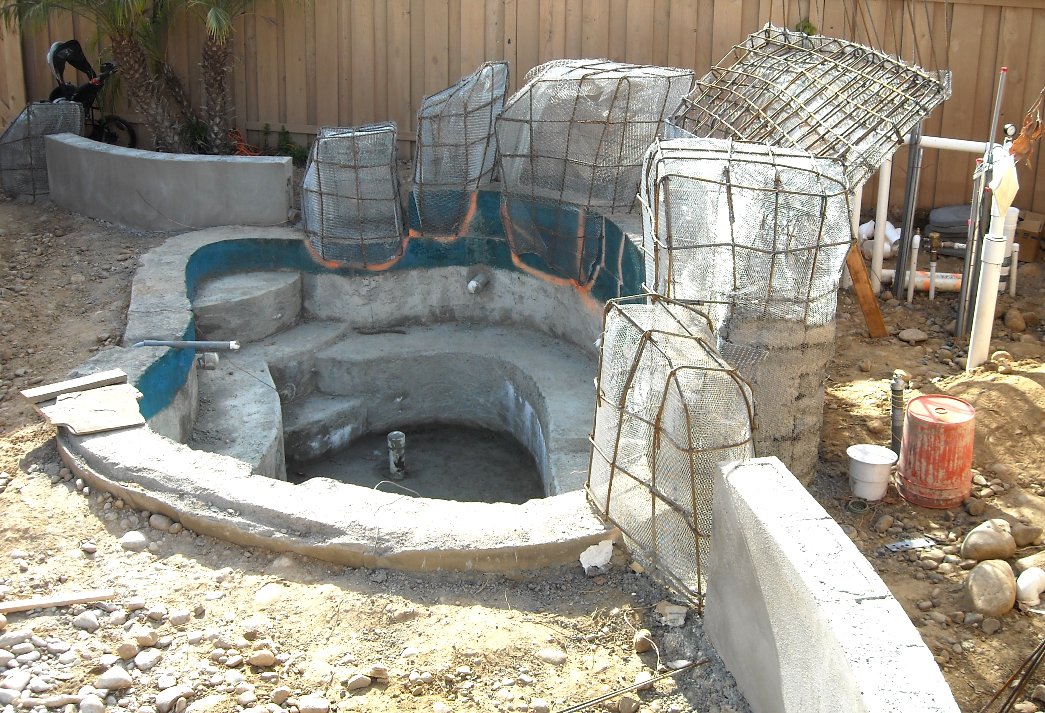
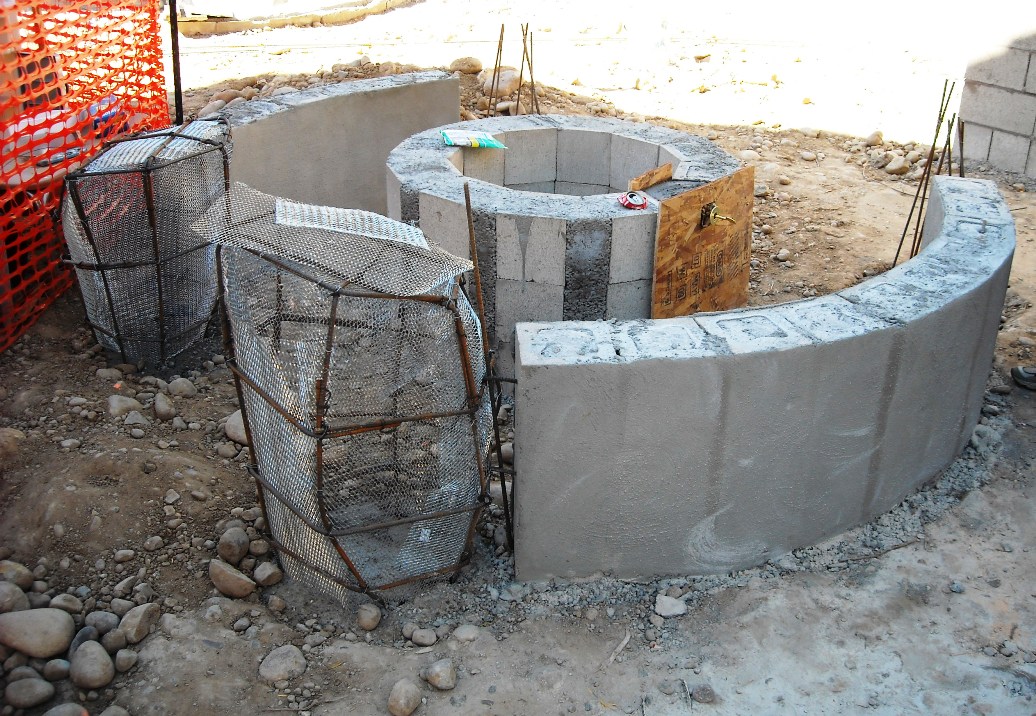
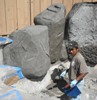
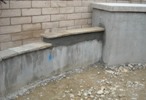
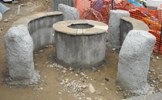
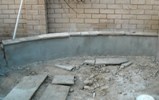
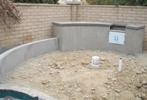
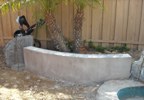
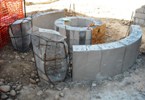
 Work on the sitting walls began in early April connecting the spa to the BBQ island. The fire pit ring was laid-out
as well with low seating walls facing in towards the fire. Both will use natural gas instead of propane cylinders. The artificial rocks for the waterfall
structure were hand-formed with rebar & thin-grid wire mesh. It's pretty exciting to see how it all gets built from scratch. Spent another day at KRC Rock
previewing boulder colors, matching to the spa tiles, but still no quartzite stone from Montana. Found dark brown resin-wicker chairs at Home Depot for $50
each. And spent Saturday at Arizona Tile trying to find tiles for the custom 6' concrete table under the palapa.
Work on the sitting walls began in early April connecting the spa to the BBQ island. The fire pit ring was laid-out
as well with low seating walls facing in towards the fire. Both will use natural gas instead of propane cylinders. The artificial rocks for the waterfall
structure were hand-formed with rebar & thin-grid wire mesh. It's pretty exciting to see how it all gets built from scratch. Spent another day at KRC Rock
previewing boulder colors, matching to the spa tiles, but still no quartzite stone from Montana. Found dark brown resin-wicker chairs at Home Depot for $50
each. And spent Saturday at Arizona Tile trying to find tiles for the custom 6' concrete table under the palapa.
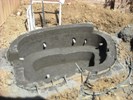
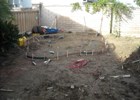
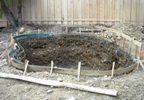
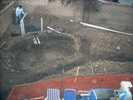
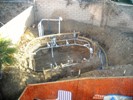
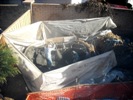

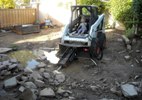
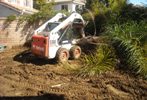
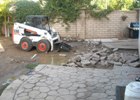
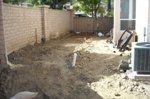
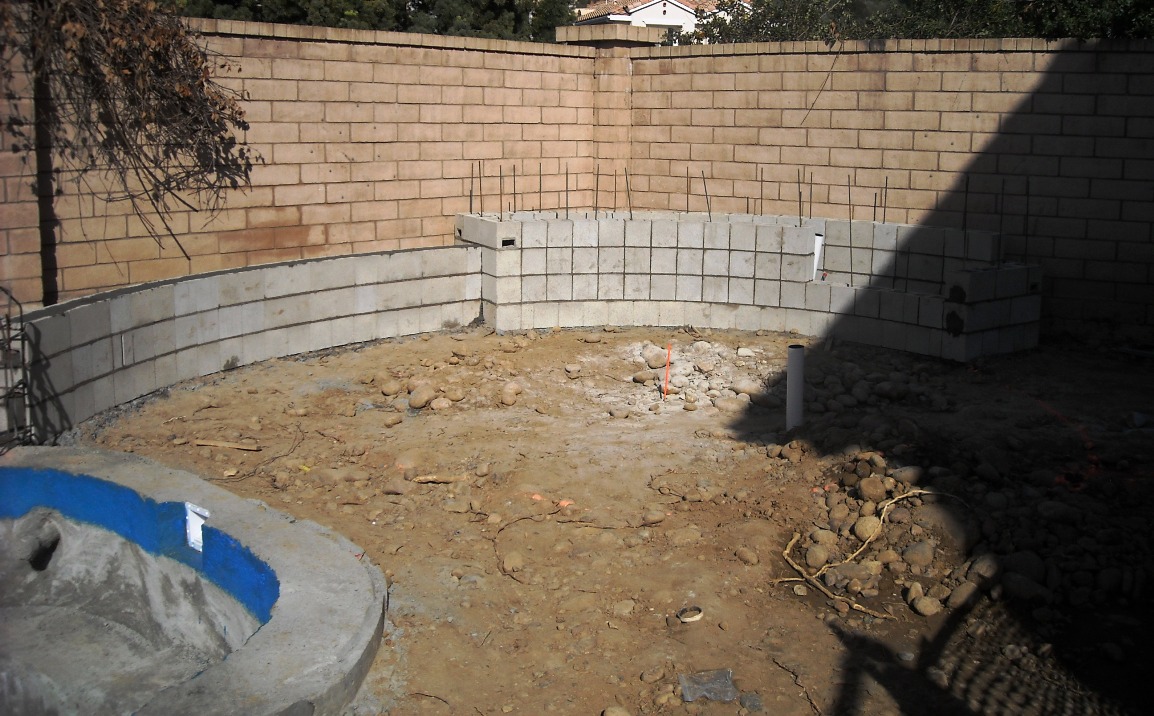
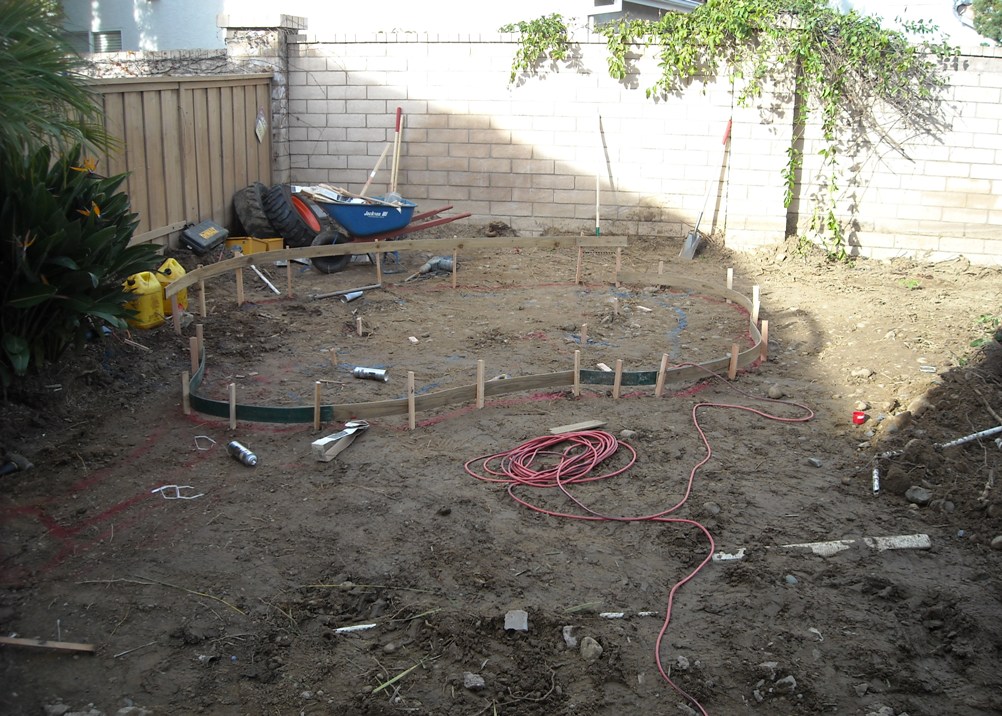
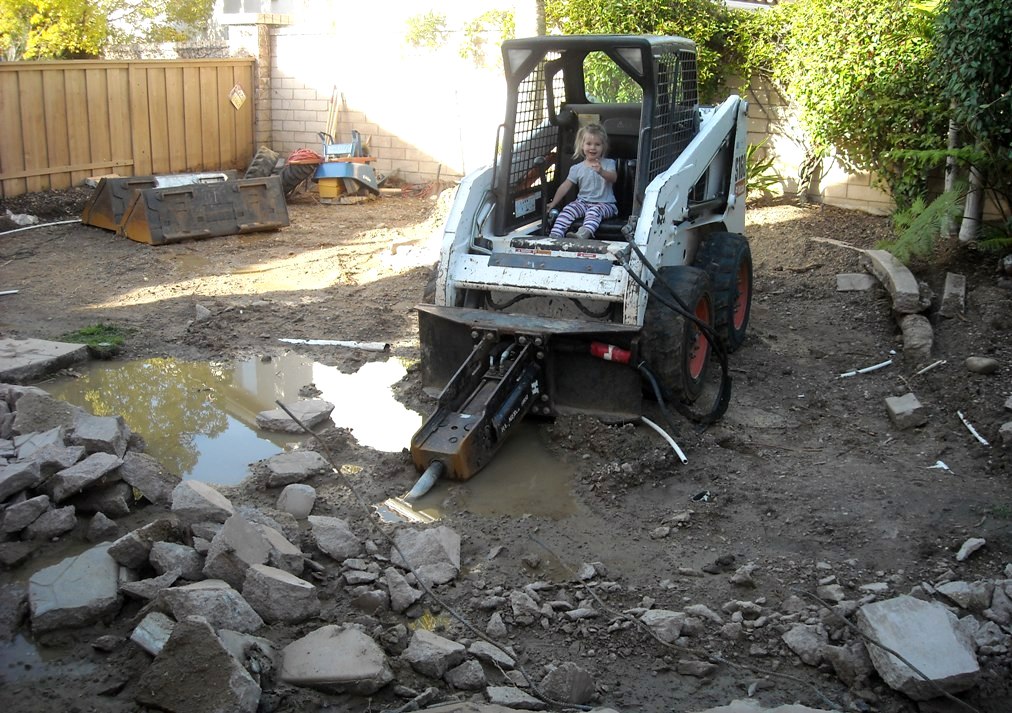
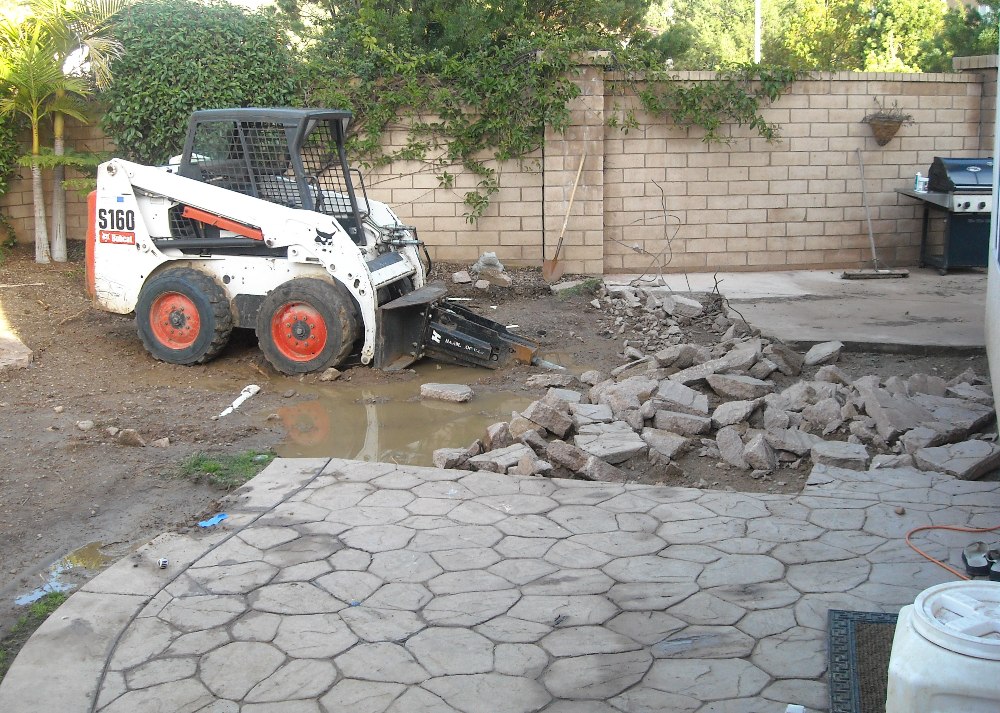
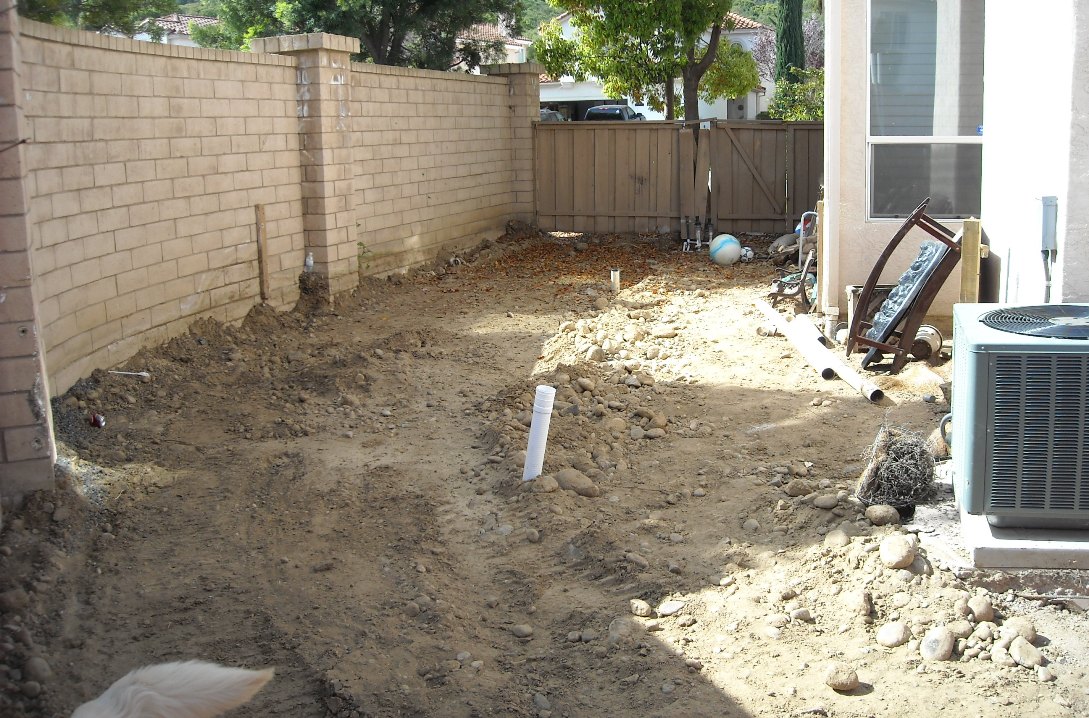
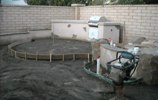
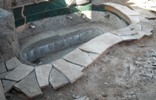
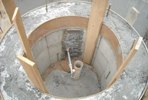
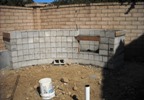
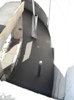
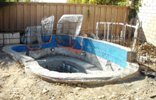
The demolition began in early March with the removal of the back patio & side concrete. They pulled-down the
palm trees with the Bobcat & cut them up. Kathe inspected the endless colors & styles of flagstone rock at KRC Rock and we chose a brownish one that would soon be
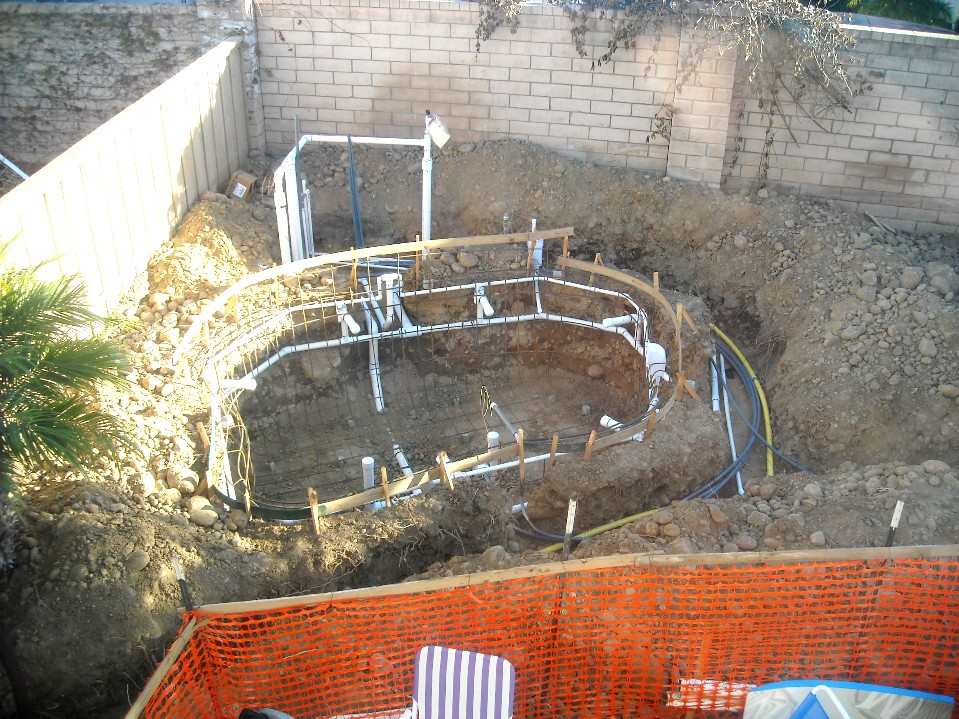
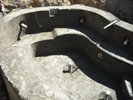
hauled-in from Montana in a few weeks. The dirt was then graded and the spa area was marked & staked. A back-hoe removed the large rocks & the area was then shaped
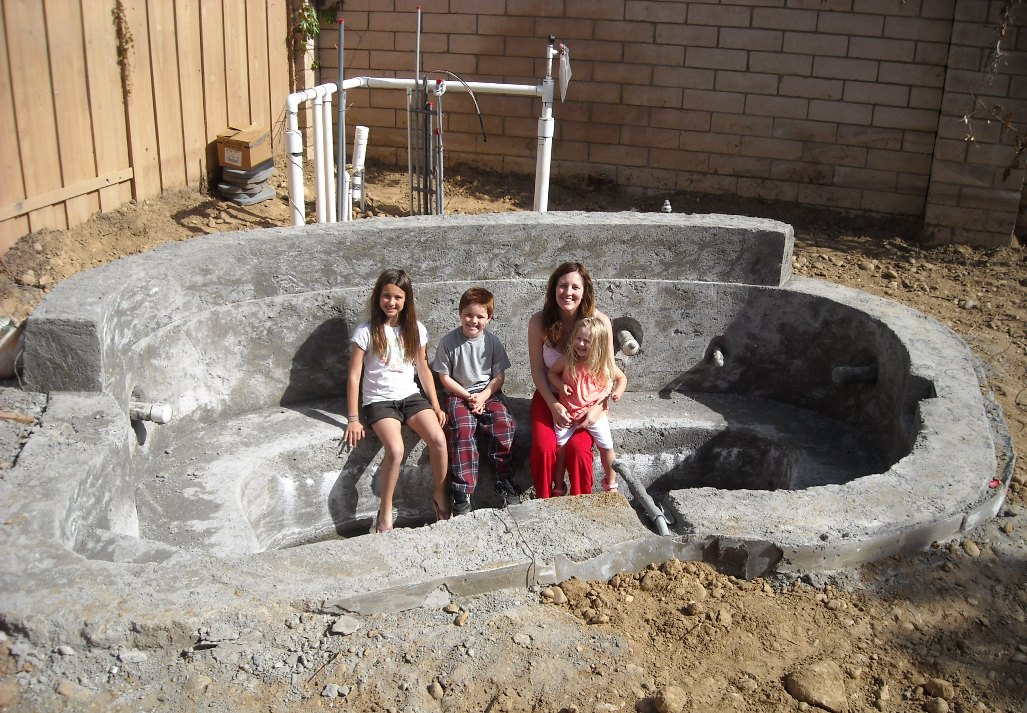
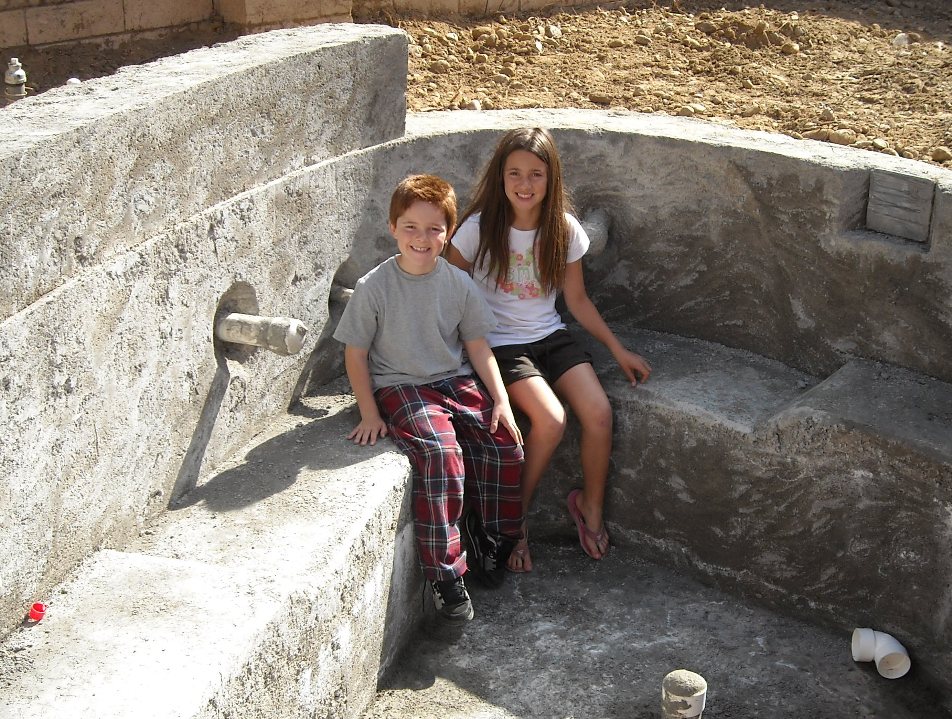
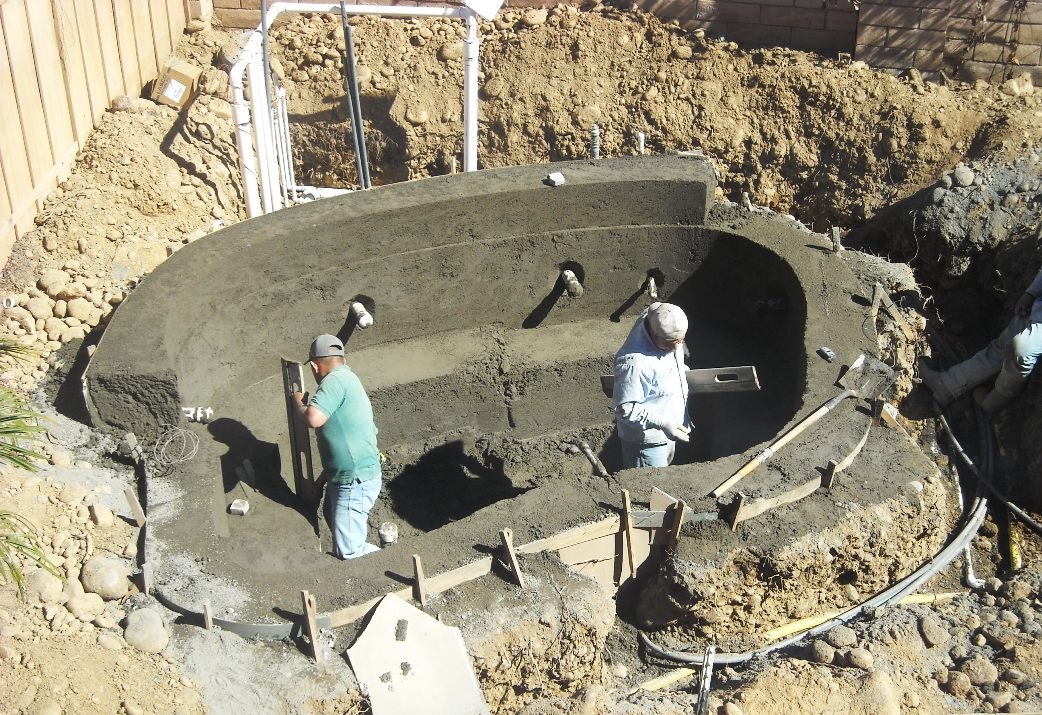
with rebar & drain tubes were installed. Two guys sprayed the Gunnite (fine powdered concrete) to build-up the walls in about an hour. Then two guys spend another
hour smoothing out the walls, steps, & seating areas. For two weeks we kept the spa wet to reduce cracking. Later new drainage & sprinkler tubing was laid-down &
covered. The whole renovation project should take about two months, so we'll be swimming hopefully by the end of April or early May.